

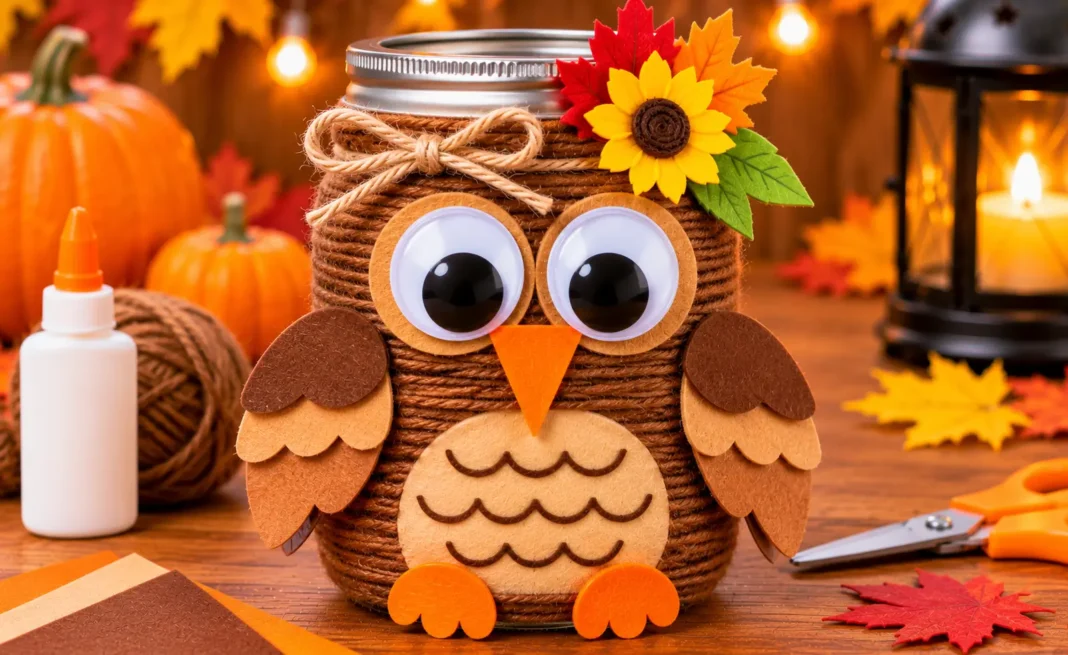
This Thanksgiving owl mason jar craft turns an ordinary jar into a wide-eyed woodland character using brown yarn, a bright orange beak, and paper wings. Wrapping the jar gives the owl its fuzzy-looking body, while oversized googly eyes make the face instantly recognizable.
It also suits autumn classrooms and woodland displays. Children can arrange the face and wings while adults supervise glass, scissors, and glue.
Why You’ll Love This Thanksgiving Owl Mason Jar Craft
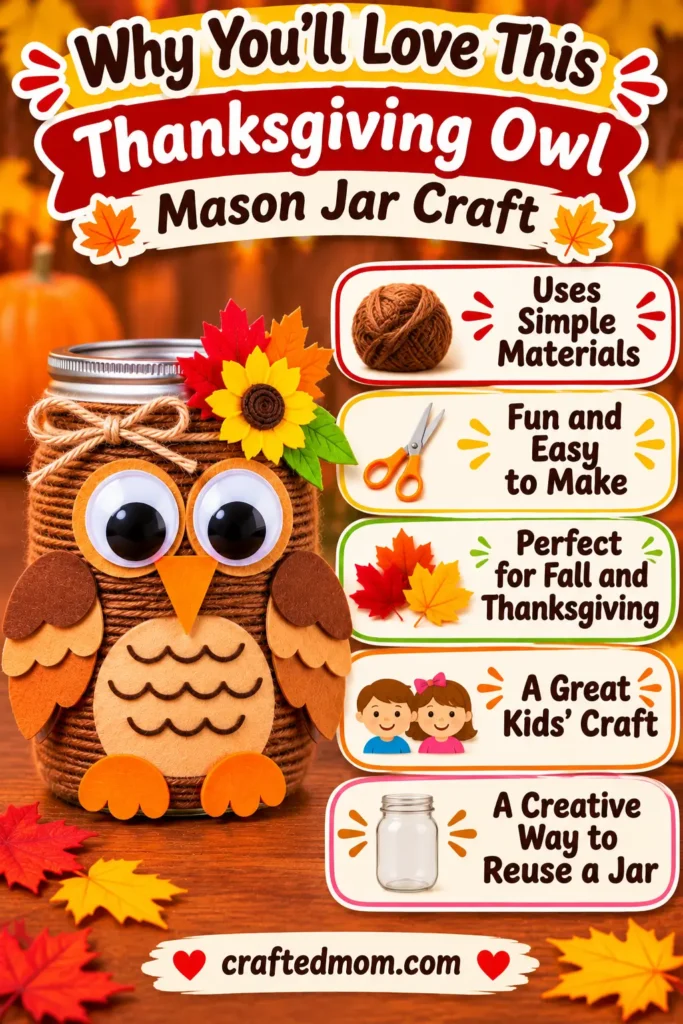
Yarn gives this owl its color and texture without painting a base. The wrapping can be divided into manageable stages.
Different jar sizes and brown yarn shades create different looks, while the prominent eyes and wings keep the owl recognizable.
Supplies You’ll Need

Materials
- Mason Jar: Choose a clean jar with a shape that is comfortable to wrap. An adult should handle glass.
- Brown Yarn: Creates the owl’s wrapped body. A smooth, manageable yarn is easier to position than a very fluffy strand.
- Oversized Googly Eyes: Give the owl its wide-eyed expression.
- Orange Construction Paper: For the owl’s pointed beak.
- Brown Construction Paper: For two paper wings; choose a contrasting shade if you want them to stand out.
- Craft Adhesive: To secure the yarn and decorations. Check that it bonds the particular jar surface, yarn, and paper.
Tools
- Scissors: For trimming yarn and cutting the paper details with appropriate help.
- Pencil: For outlining the beak and wings before cutting.
Size the yarn and paper pieces to your jar; no measurements were supplied.
Before You Start: Prepare the Mason Jar
Remove labels and sticky residue, then clean and dry the outside. Check for chips or cracks if you’re using glass. Set the jar on a protected work surface where it won’t roll.
Choose the front and check that the eyes fit below the rim. Leave lid threads clear if you want the jar to open.
How to Make a Thanksgiving Owl Mason Jar Craft
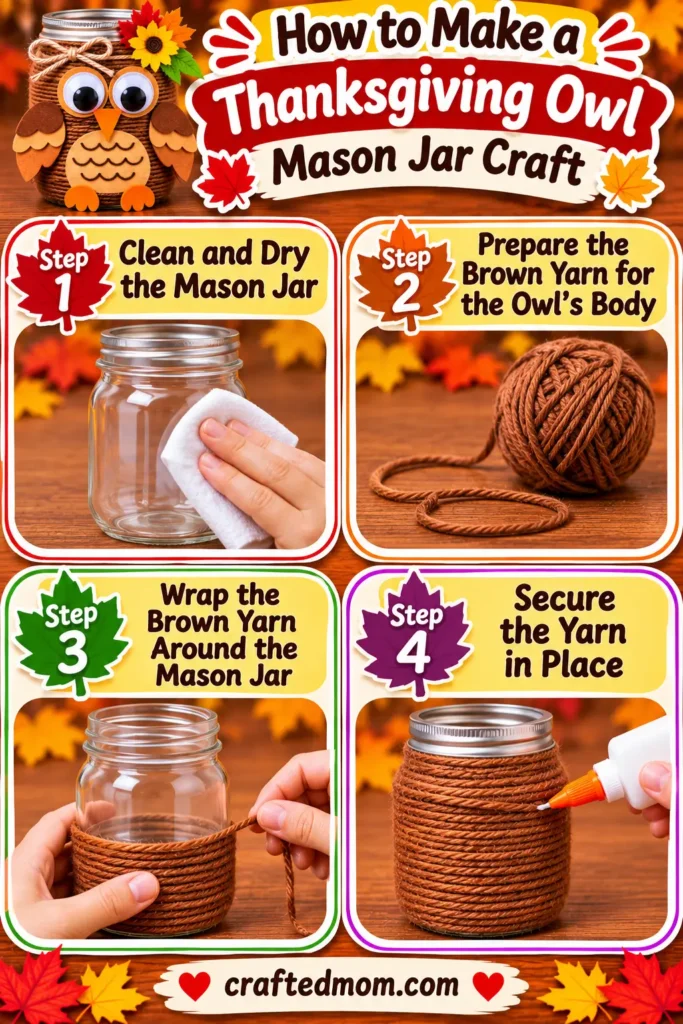
Step 1: Clean and Dry the Mason Jar
Give the jar a final wipe to remove dust or fingerprints. Moisture or residue can interfere with the adhesive. Stand it upright with the chosen front facing you.
Step 2: Prepare the Brown Yarn for the Owl’s Body
Unwind a manageable length of brown yarn, keeping the rest nearby. Remove knots that would create bumps on the face.
Step 3: Wrap the Brown Yarn Around the Mason Jar
Hold the starting end against the lower outside of the jar. Begin winding the yarn around the body in neighboring rows, working gradually upward. Keep the tension even, but don’t pull so tightly that the strands slide into one another.
Guide each loop beside the last, correcting gaps as you go. Keep the opening clear.
Step 4: Secure the Yarn in Place
Use a small amount of compatible craft adhesive to anchor the starting and finishing ends.
Add attachment points only where needed to prevent slipping, following the glue’s directions.
Hold the ends until they stay in place, then leave the jar undisturbed while the adhesive sets.
Make the Owl’s Face and Wings
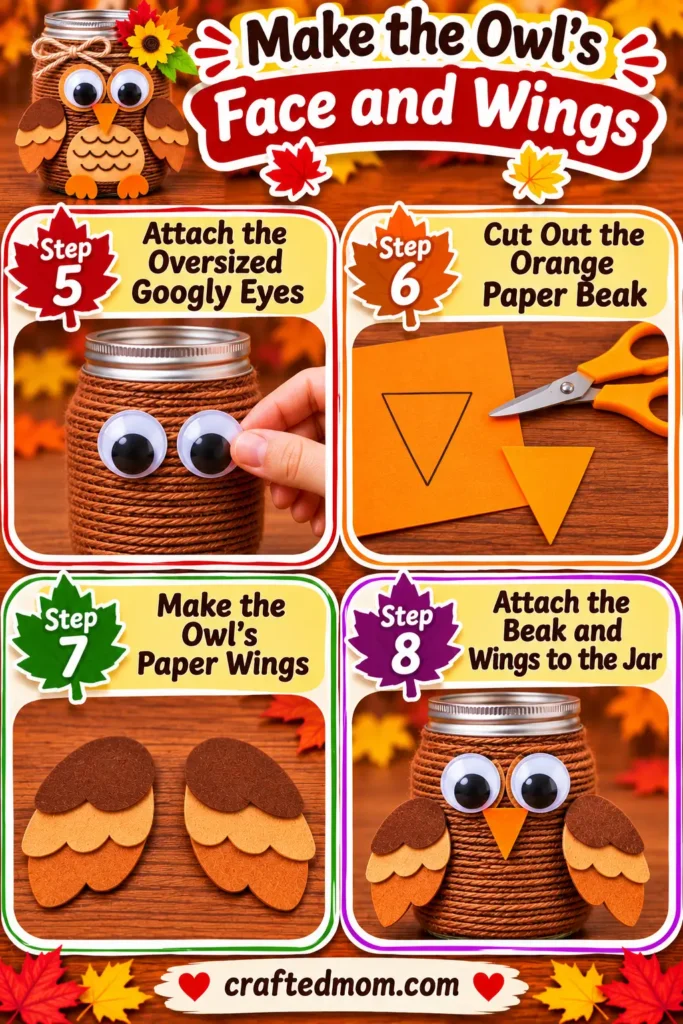
Step 5: Attach the Oversized Googly Eyes
Position the eyes on the upper front, leaving room for the beak. Attach them with glue compatible with both eye backing and yarn.
If they slip, check adhesive compatibility before adding more glue.
Step 6: Cut Out the Orange Paper Beak
Draw a small pointed triangle on orange paper and cut it out.
Hold it directly beneath the eyes to check the size. The beak should be visible without covering either eye.
Step 7: Make the Owl’s Paper Wings
Draw and cut two rounded wings from brown paper. Check their sizes against the jar; angle them outward so they’re visible from the front.
Step 8: Attach the Beak and Wings to the Jar
Glue the beak beneath the eyes using adhesive suitable for paper and yarn.
Position one wing on each side. Attach the inner edges securely and support them while the glue sets, particularly if the paper curves away from the yarn-wrapped surface.
Add the Finishing Touches
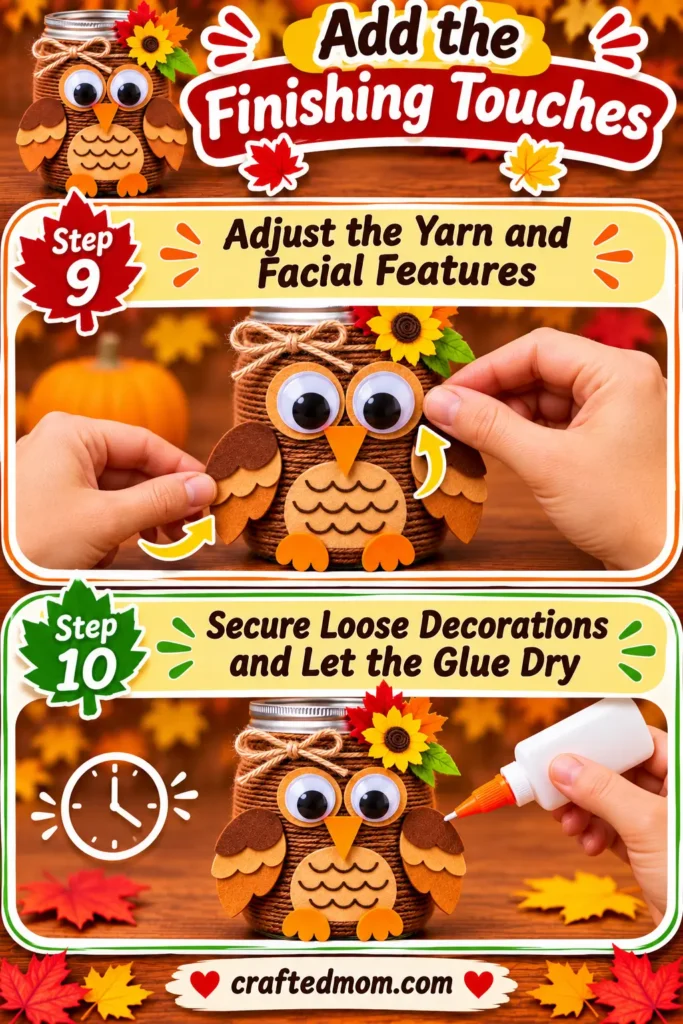
Step 9: Adjust the Yarn and Facial Features
Check the owl from several angles. Straighten bunched yarn and adjust the beak or wings if they look unbalanced.
Step 10: Secure Loose Decorations and Let the Glue Dry
Check the yarn ends, eye backing, beak, and wing attachment points.
Reattach anything loose with the appropriate adhesive, then let the craft dry fully according to the product instructions.
Lift the finished owl by the jar rather than by its wings.
Easy Thanksgiving Owl Mason Jar Craft Tips
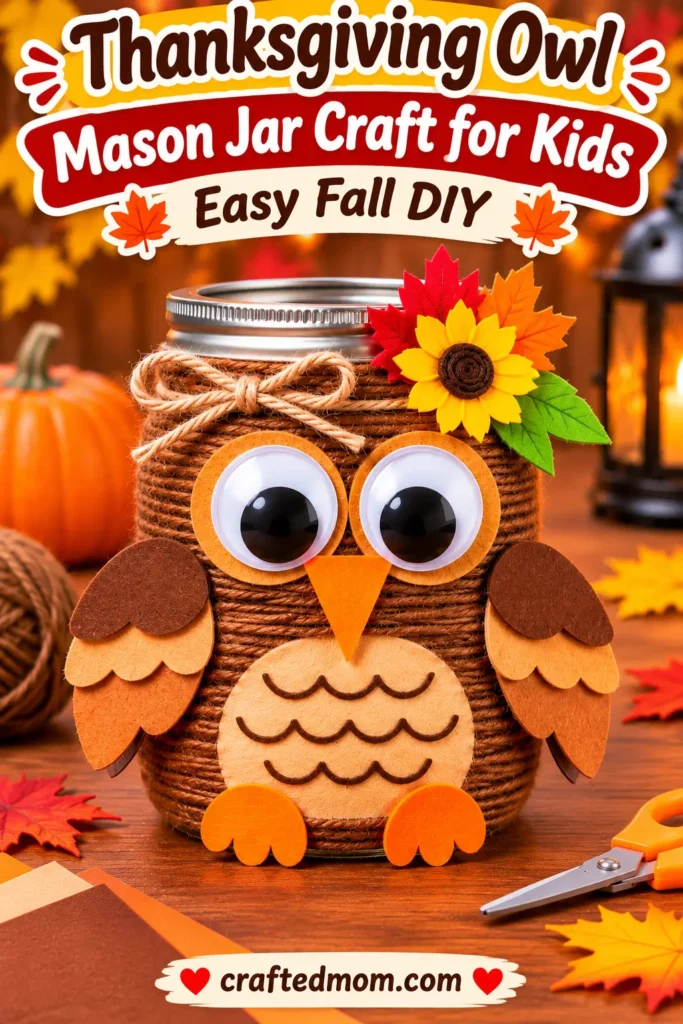
Keep the wrapping even. Work in small sections and reposition loose loops before continuing. If a row slips, unwind that section and wrap it again instead of layering more yarn over the gap.
Make the eyes the focal point. Oversized googly eyes are the defining feature. Keep the beak small and avoid adding decorations that crowd the face.
Test paper-to-yarn adhesion. Paper pieces can peel away from textured yarn. Try your glue on a spare yarn-wrapped surface or hidden area before attaching the wings.
Prepare for groups. Adults can start wrapping and pre-cut wings; children can choose colors and eye placement.
Thanksgiving Owl Mason Jar Variations to Try
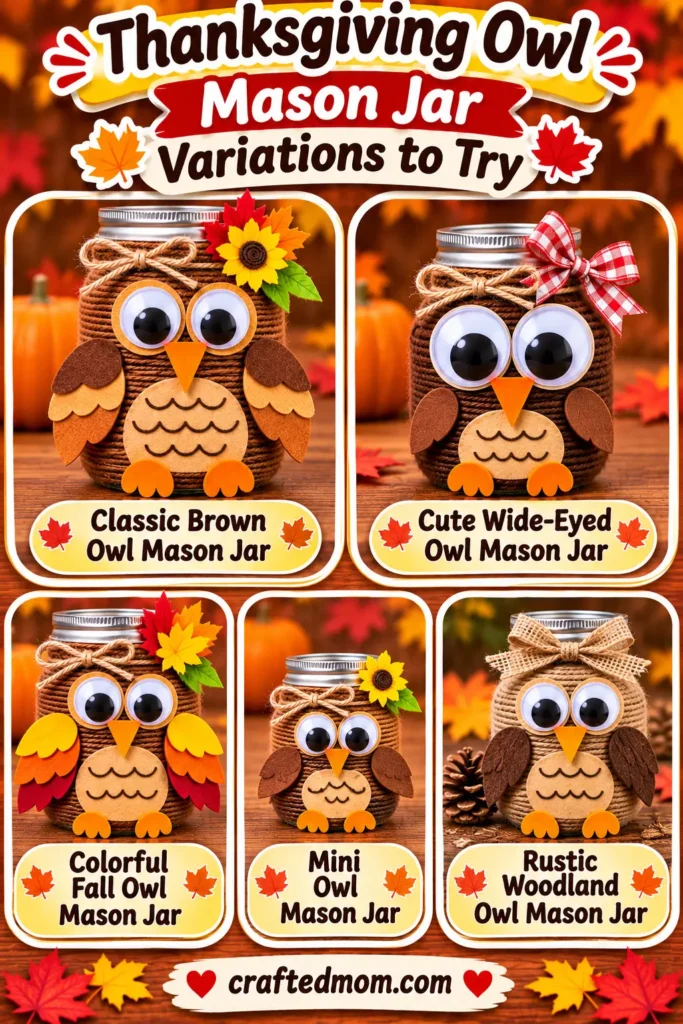
Classic Brown Owl Mason Jar
Use medium-brown yarn, an orange beak, and matching wings to emphasize the eyes.
Cute Wide-Eyed Owl Mason Jar
Choose particularly prominent eyes and place them fairly close together.
Keep the wings smaller so the owl’s expression becomes the main detail.
Colorful Fall Owl Mason Jar
Try orange, yellow, or rust wings against the brown yarn body.
Mini Owl Mason Jar
Use a smaller jar and scale down the beak and wings.
Check the eye size before attaching them, since large eyes can overwhelm a miniature body.
Rustic Woodland Owl Mason Jar
Use muted yarn and rounded wings; display beside pinecones or paper leaves.
Ways to Decorate With Thanksgiving Owl Mason Jars
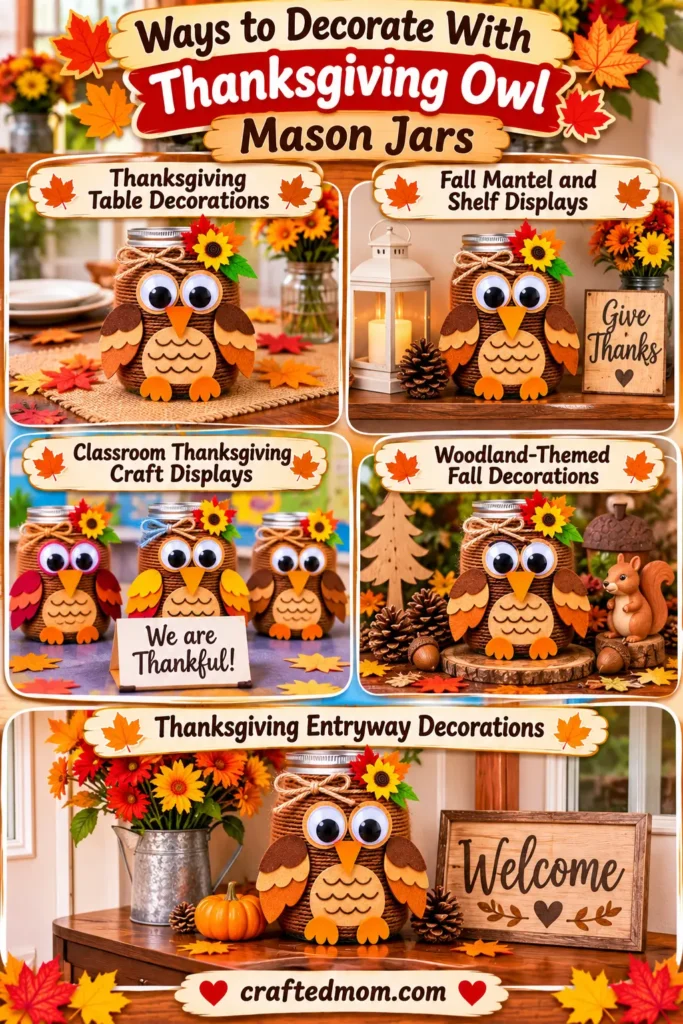
Thanksgiving Table Decorations
Place the finished owl on a stable, dry section of the table, away from serving dishes, spills, and candles.
Fall Mantel and Shelf Displays
Add the jar to a fall shelf with paper leaves or other woodland crafts.
Leave space beside the wings and keep the yarn away from heat.
Classroom Thanksgiving Craft Displays
Group the finished owls on a secure surface and put name cards nearby.
Different wing colors can make each child’s work easy to recognize.
Woodland-Themed Fall Decorations
Pair the owl with acorn or scarecrow crafts for an autumn woodland arrangement.
Stick to a few related colors to keep the display coordinated.
Thanksgiving Entryway Decorations
Set an owl on a protected indoor entryway table where it won’t be knocked off by bags or coats.
Thanksgiving Owl Mason Jar Craft Safety Notes
Adults should supervise glass jars, scissors, adhesive, and small decorations.
Inspect glass for chips or cracks before starting. Oversized googly eyes may still detach and become choking hazards for young children.
Yarn and paper are combustible. Never place a real candle or open flame inside or near the decorated jar.
This is a decorative craft, not a food container or toy. Follow the product labels and keep the finished owl away from hot surfaces.
Can Preschoolers Make This Owl Mason Jar Craft?
Yes, with an adult preparing the harder stages and providing close supervision.
Adults can handle the jar, start the wrapping, and cut the paper pieces.
Preschoolers can choose the wing colors, help guide yarn with assistance, and decide where the owl’s face belongs.
A compatible plastic jar is an alternative where glass breakage is a concern, but small eyes still need careful handling.
More Fall Mason Jar Crafts
If you like fall characters made from jars, try Scarecrow Mason Jar Craft, with its raffia hair and burlap hat, or Acorn Mason Jar Craft, which uses a textured cap.
Explore Corn Husk Doll Mason Jar Craft or the more Thanksgiving-specific Turkey Mason Jar Craft, then browse Thanksgiving Crafts for Kids for more ideas.
For a different collection of decorated jar characters, browse Halloween Mason Jar Crafts.
Final Thoughts
Display this wide-eyed, yarn-wrapped owl throughout fall. For another textured jar character, try Scarecrow Mason Jar Craft.
Frequently Asked Questions
What Kind of Yarn Works Best for an Owl Mason Jar Craft?
Brown yarn that’s easy to guide around the jar works well for this design. Choose a texture that lets the loops sit fairly evenly without hiding the face.
How Do You Keep Yarn from Slipping Off a Mason Jar?
Wrap with even tension, keep loops next to each other, and anchor the beginning and end with adhesive appropriate for the yarn and jar material.
What Glue Works Best for Attaching Yarn to a Mason Jar?
Use an adhesive labeled for your jar surface and yarn. Test it first, particularly if you’re also attaching paper and plastic googly eyes.
Can I Use a Plastic Mason Jar Instead of Glass?
Yes, provided the glue is compatible with the plastic. A plastic jar reduces breakage concerns, but children still need supervision with small parts.
