

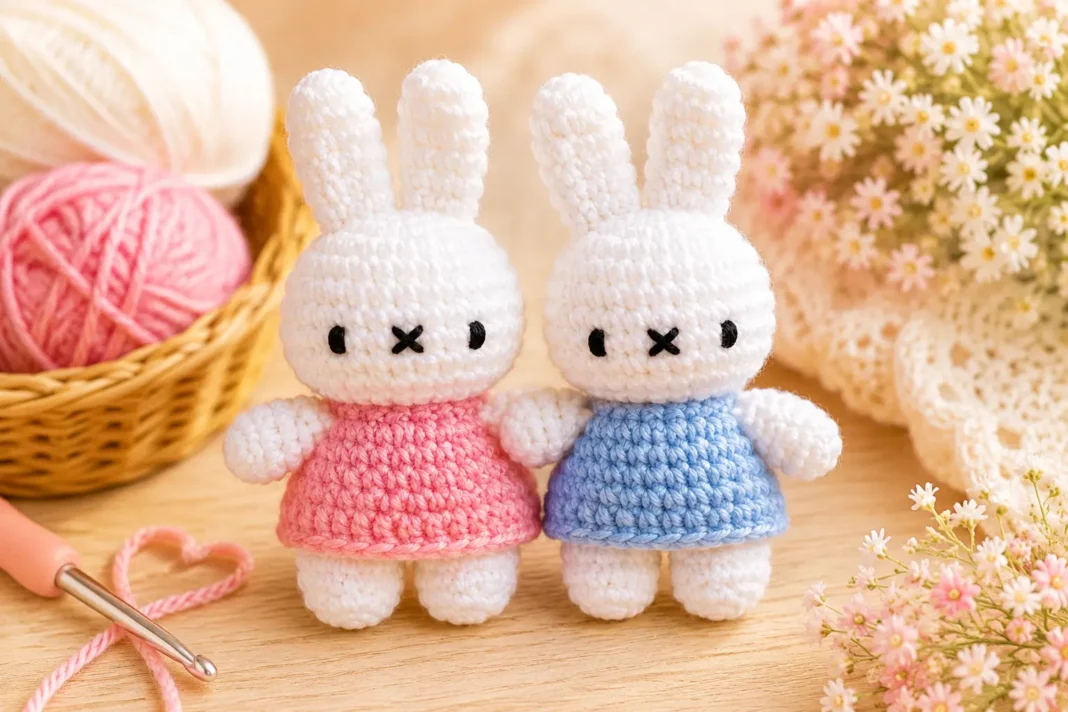
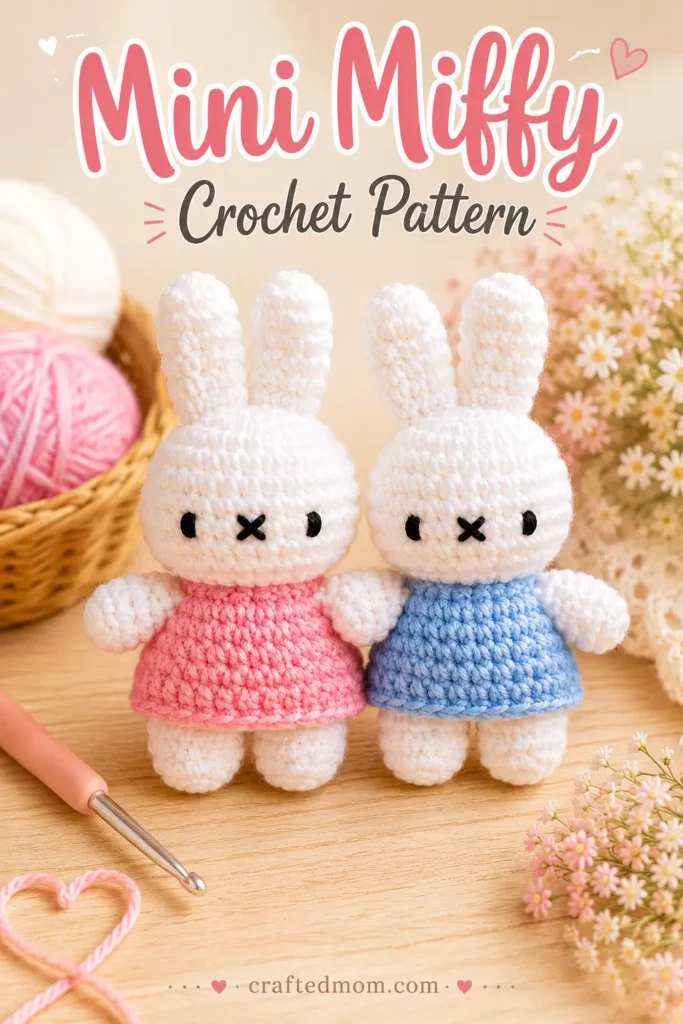
The little crossed nose is what makes this bunny instantly recognizable, but the construction is even more charming once you realize the head and body are worked as one continuous piece starting from two tiny legs. Add the long upright ears, round arms, and a removable little dress, and this Mini Miffy Crochet Pattern becomes a compact amigurumi project with surprisingly few separate pieces.
The body begins at the feet, joins into a 20-stitch torso, narrows at the neck, and then expands again to form the head. That means there is no separate head to sew on later. After shaping and stuffing the main piece, you’ll crochet two arms and two ears, embroider the simple black face, and finish with a fitted dress.
The dress is especially useful if you want to make several versions. It begins with an 18-chain foundation, uses chain spaces to create the arm openings, and then works several rounds of single crochet to form the skirt. The strap length can also be adjusted slightly to fit your finished bunny.
Mini Miffy Crochet Pattern at a Glance
| Project Detail | Information |
| Project | Mini crochet bunny with dress |
| Yarn | 5-ply yarn |
| Crochet Hook | 3.5 mm |
| Body Color Shown | White |
| Dress Color Shown | Pink |
| Face Color | Black |
| Starting Method | Magic ring |
| Main Stitch | Single crochet |
| Other Techniques | Increase, decrease, chain, slip stitch |
| Construction | Legs joined into body, head worked continuously above body |
| Legs | 2 pieces |
| Arms | 2 pieces |
| Ears | 2 pieces |
| Stuffing | Fiberfill |
| Face | Embroidered eyes and X-shaped nose |
| Dress | Separate removable crochet piece |
| Sewing Required | Yes, for arms, ears, closing, and assembly |
The body construction starts with two identical three-round legs. Those legs are then joined and crocheted continuously into the torso and head.
Materials You’ll Need
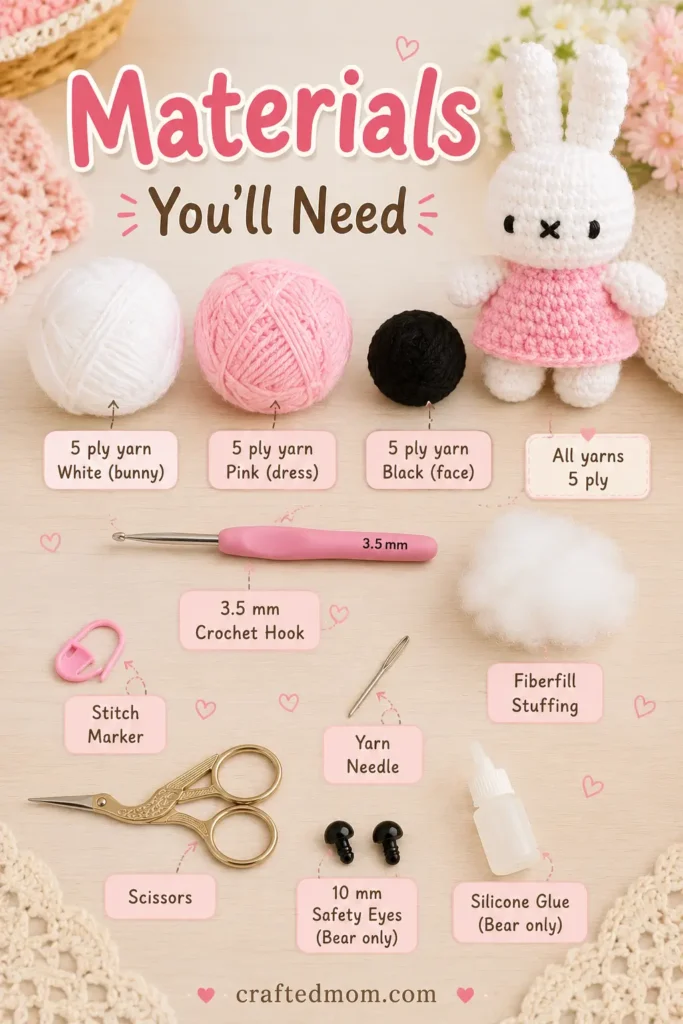
Gather:
The project is worked primarily with single crochet, so the biggest thing to watch is your round count rather than switching between lots of complicated stitches.
For the facial details, splitting the black yarn into thinner strands gives you finer, cleaner eyes and nose embroidery.
Crochet Abbreviations
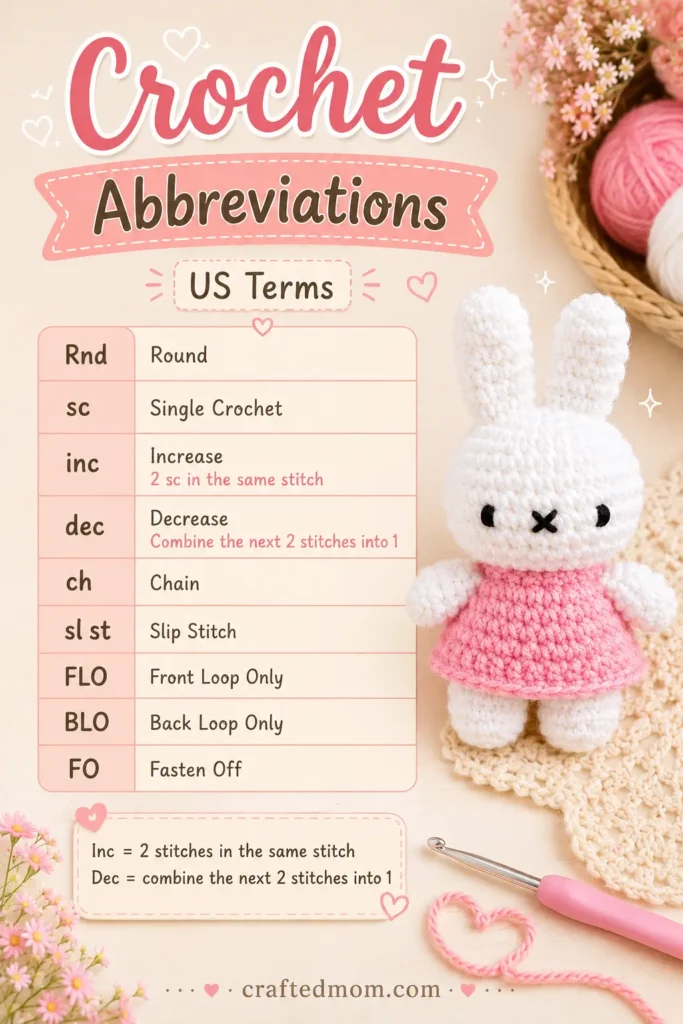
| Abbreviation | Meaning |
| Rnd | Round |
| sc | Single crochet |
| inc | Increase |
| dec | Decrease |
| ch | Chain |
| sl st | Slip stitch |
| FO | Fasten off |
An increase means:
2 sc in the same stitch
A decrease combines the next 2 stitches into 1.
For most decreases in this project, you’ll work through the front loops of the next two stitches. The final head decrease uses a slightly different method by inserting the hook through the full stitches.
How to Crochet the Mini Miffy Crochet Pattern
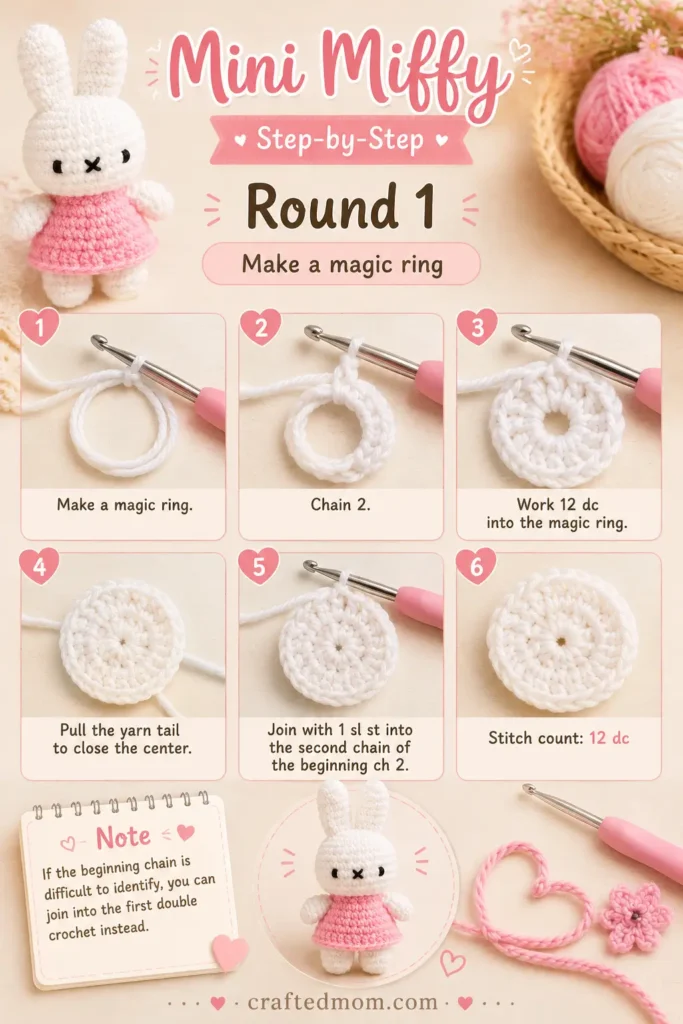
We start at the very bottom with the legs.
Each leg is worked separately for three rounds.
Crochet the First Leg
Use white yarn.
Round 1
Make a magic ring.
Work:
10 sc into the magic ring
Pull the tail to close the center.
Stitch count: 10
Round 2
Work:
10 sc
Place your stitch marker in the first stitch.
Stitch count: 10
Round 3
Work:
10 sc
Stitch count: 10
After Round 3:
ch 1
Cut the yarn.
The first leg is finished.
Crochet the Second Leg
Repeat:
Rounds 1 to 3
using the exact same instructions.
This time:
Do not cut the yarn.
Push the beginning magic-ring tail inside the leg before continuing.
Both legs should now have the same size and round count.
Join the Two Legs
Insert your hook back into the active loop on the second leg.
Now insert the hook into any suitable stitch on the first leg and work:
1 sc
Make this joining stitch fairly snug so the space between the legs does not become too large.
This joining stitch becomes the beginning of:
Round 4
Work around both legs:
20 sc total
That means approximately:
10 sc around the first leg
and:
10 sc around the second leg
Place your stitch marker in the first stitch.
When moving from one leg to the other, skip the already occupied joining stitch and continue into the next available stitch.
Stitch count: 20
A small opening may remain between the legs. Do not worry about closing it now. That gap can be sewn later while attaching the arms.
Crochet the Body
Rounds 5 to 9
Work:
20 sc in every round
Repeat for:
5 rounds total
Keep the stitch marker at the beginning of Round 5 so you can count upward from there.
Your round sequence is:
- Round 5
- Round 6
- Round 7
- Round 8
- Round 9
Stitch count each round: 20
After Round 9, begin adding fiberfill inside the body.
I recommend filling gradually instead of waiting until the opening becomes tiny. You want the body to hold its shape without stretching the stitches apart.
Shape the Neck
Round 10
Work:
dec × 10
For these decreases, work through the front loops.
Insert your hook through the front loop of the next stitch, then through the front loop of the following stitch.
Yarn over and complete the decrease.
Repeat 10 times around.
Stitch count: 10
Add a little more stuffing before moving on.
This sharply narrows the body and creates the neck line before the head starts expanding again.
Begin the Head
Round 11
Continue working through the front loops.
Work:
inc × 10
In other words:
2 sc into each front loop around
Stitch count: 20
The head immediately widens again above the narrow neck.
Round 12
Work:
(4 sc, inc) × 4
Repeat the sequence four times.
Stitch count: 24
Build the Main Head Shape
Rounds 13 to 17
Work:
24 sc
in each round.
Repeat for:
5 rounds total
That gives you:
- Round 13
- Round 14
- Round 15
- Round 16
- Round 17
Stitch count each round: 24
This plain section forms most of the bunny’s round head.
Decrease the Top of the Head
Round 18
Work:
(2 sc, dec) × 6
Repeat around.
Stitch count: 18
Round 19
Work:
(1 sc, dec) × 6
Repeat around.
Stitch count: 12
Before beginning the final round, add enough fiberfill to finish shaping the head.
The head should feel full enough to hold its round shape, but not so tightly packed that the stitches spread apart.
Round 20
Work:
dec × 6
For this final round, insert the hook through the whole next stitch, pull up a loop, then through the whole following stitch and pull up another loop.
You should have three loops on the hook.
Yarn over and pull through all three loops.
Repeat:
6 decreases total
Stitch count: 6
Leave a long yarn tail.
Close the Head
Thread the long tail onto your yarn needle.
Pass the needle through each remaining stitch around the opening.
When you return to the beginning, pull the yarn firmly.
The opening will draw closed.
Secure the yarn and hide the remaining tail inside the head.
The main bunny body is now finished from feet to head as one continuous piece.
Crochet the Arms
Make 2 arms.
Use the same body-color yarn.
Arm Round 1
Make a magic ring.
Work:
7 sc
Stitch count: 7
Arm Rounds 2 to 4
Work:
7 sc in every round
Repeat through Round 4.
Stitch count each round: 7
After Round 4:
FO, leaving a long tail for sewing.
You may add a small amount of stuffing inside the arms if you prefer.
Sew the Arms Closed
Before attaching an arm to the body, use the yarn tail to sew its opening closed.
Flatten the top slightly and stitch through the opening.
Then position the arm close to the neck area and sew it securely onto the body.
Repeat with the second arm.
You can use the remaining yarn to close the small gap that may still be visible between the legs.
Secure and hide the yarn once everything feels sturdy.
Crochet the Bunny Ears
The ears use nearly the same construction as the arms, but they are longer.
Make 2 ears.
Ear Round 1
Make a magic ring.
Work:
7 sc
Stitch count: 7
Ear Rounds 2 to 6
Work:
7 sc
in each round.
Continue through:
Round 6
Then:
FO, leaving a long tail for sewing.
You can lightly stuff the ears if you want them to have more body.
Attach the Ears
First sew the open top of each ear closed.
Position both ears at the top of the head.
Keep them fairly close together rather than leaving a large space between them.
Sew the first ear securely in place, then repeat with the second.
Weave the yarn ends into the head.
The long narrow ears are one of the simplest parts of the project, but their placement changes the entire expression, so I would pin or hold them in place before committing to your stitches.
Embroider the Miffy Face
Use black yarn.
For a more delicate face, separate the yarn and use:
2 strands together
Position the facial features around the fourth round above the neck.
Make the Nose
Choose one of the middle stitches.
Embroider a small:
X
This becomes the bunny’s nose.
Add the Eyes
From the nose, leave:
2 stitches between the nose and each eye
Then embroider one eye in the third stitch position.
Repeat on the opposite side.
You can pass through the eye stitches more than once until they have the thickness you like.
Keep both eyes level with each other before securing the yarn.
The tiny X-shaped nose is the focal point of the face, so it is worth taking a moment to get the spacing balanced.
If you like compact character projects, the Moo Deng Baby Hippo Crochet Pattern would make a fun companion piece, while the Baby Chicks and Ducks with Hats Crochet Pattern is another small amigurumi project with customizable accessories.
Crochet the Mini Dress
Use pink yarn or another color you prefer.
The dress is worked separately, which means you can make more than one and change the bunny’s outfit.
Dress Foundation
Make a slip knot.
Chain:
ch 18
Now skip the first chain.
Beginning in the second chain from the hook, work:
2 sc
Then:
ch 4
Skip:
4 chains
Work:
1 sc into the next chain
Then work:
4 more sc
At this point, you’ve worked a total of five single crochets through that center section.
Now make:
ch 4
Skip:
4 chains
Work:
1 sc into the next chain
Then work:
1 sc into the final chain
These ch-4 spaces form the dress openings.
Finish the Dress Strap
Now chain:
5 or 6 chains
The exact number depends on how the piece fits around your finished bunny.
The version shown uses:
ch 6
Wrap the work around the bunny to check the fit.
If the dress feels too tight, add another chain before joining.
Find the very first single crochet you made at the beginning.
Join with:
1 sl st into the first sc
This closes the dress into a round and creates the upper section.
Dress Round 2
Chain:
ch 1
Mark this chain if needed so you can easily identify the joining point.
Now work single crochet around the entire dress.
Work:
1 sc in each regular stitch
When you reach the first ch-4 space, work:
4 sc across those 4 chains
Continue through the regular stitches.
At the second ch-4 section:
4 sc across the chains
Continue.
When you reach the final strap section:
- If you made ch 6, work 6 sc
- If you made ch 5, work 5 sc
Join with:
1 sl st into the beginning ch-1 space
The openings now have solid crochet edges, and the dress has a complete circular foundation.
Dress Rounds 3 to 5
Round 3
Chain:
ch 1
Work:
1 sc in every stitch around
Do not work into the previous round’s slip stitch.
When you return to the beginning:
1 sl st into the ch-1 space
Round 4
Repeat Round 3:
ch 1
1 sc in every stitch
Join with:
1 sl st
Round 5
Repeat once more:
ch 1
1 sc in every stitch
Join at the beginning.
After finishing Round 5:
ch 1
Cut the yarn.
Weave in the ends.
Your little dress is complete.
Put the Dress on the Bunny
Slide the dress up from the bunny’s feet.
Guide each arm through one of the openings.
Pull the upper edge into place around the torso.
Because the dress is separate rather than sewn to the body, you can remove it later and make additional colors.
A blue version works nicely with a neutral bunny, while pink creates the classic soft pastel look.
If interchangeable accessories are what you enjoy most, the Dress Up Leggy Frog Bag Friend Crochet Pattern also uses removable clothing, although its long-legged construction is completely different.
Tips for a Neater Mini Miffy
Keep Both Legs the Same Size
Each leg should contain exactly:
3 rounds of 10 sc
before joining.
If one is even slightly taller, the finished bunny may lean.
Make the Leg Join Tight
The first single crochet connecting the legs should be snug.
A small gap can be sewn later, but keeping the join firm from the beginning makes the body look cleaner.
Stuff Before the Openings Get Too Small
Add stuffing after the body rounds and again before closing the head.
Trying to push all the stuffing through the final six-stitch opening is much harder.
Do Not Overstuff the Ears
The ears are narrow.
If you choose to stuff them, use only a small amount so they stay elongated rather than becoming bulky.
Check the Face Before Securing It
Mark the center nose position first.
Then count:
2 stitches between the nose and each eye
This makes it much easier to keep the face balanced.
Fit the Dress Before Joining
The final dress strap can use 5 or 6 chains depending on fit.
Wrap it around the finished bunny before closing the dress so you can adjust it while the yarn is still attached.
Ideas for Customizing Your Mini Bunny
The body pattern stays simple enough that changing the look mostly comes down to color.
You could make:
- White bunny with pink dress
- Beige bunny with blue dress
- White bunny with yellow dress
- Neutral bunny with pastel clothing
- Several dresses for one bunny
The clothing does not have to match the body yarn.
Since the dress is removable, making two or three color variations is an easy way to change the look without crocheting another full bunny.
For another small animal character that works well in different colors, the Penguin with Hats Crochet Pattern gives you a similar opportunity to customize accessories instead of changing the main body.
A Tiny Bunny With a Changeable Wardrobe
Once the last black stitches form that little X nose, the whole character suddenly comes together. Then the dress adds one more playful detail without permanently covering the body, which means another color can be swapped in whenever you feel like making a second outfit.
The Mini Miffy Crochet Pattern is especially satisfying because so much of the shaping happens continuously from the feet upward. There is no separate head to attach, the arms and ears use easy repeated rounds, and the small dress gives you one more piece to personalize after the bunny itself is finished.
Frequently Asked Questions
What yarn is used for the Mini Miffy Crochet Pattern?
The pattern uses 5-ply yarn. White is used for the bunny shown, pink for the dress, and black for the embroidered facial details.
Is the bunny’s head crocheted separately?
No. The legs join into the body, and the body narrows at the neck before expanding directly into the head. The head and torso are therefore one continuous crochet piece.
How many stitches are in each leg?
Each leg has 10 single crochets per round and is worked for 3 rounds before the legs are joined.
Can I make the dress bigger?
The upper strap can be adjusted by using 5 or 6 chains, or slightly more if needed to fit your finished bunny. The pattern specifically recommends checking the fit directly on the body before joining.
