
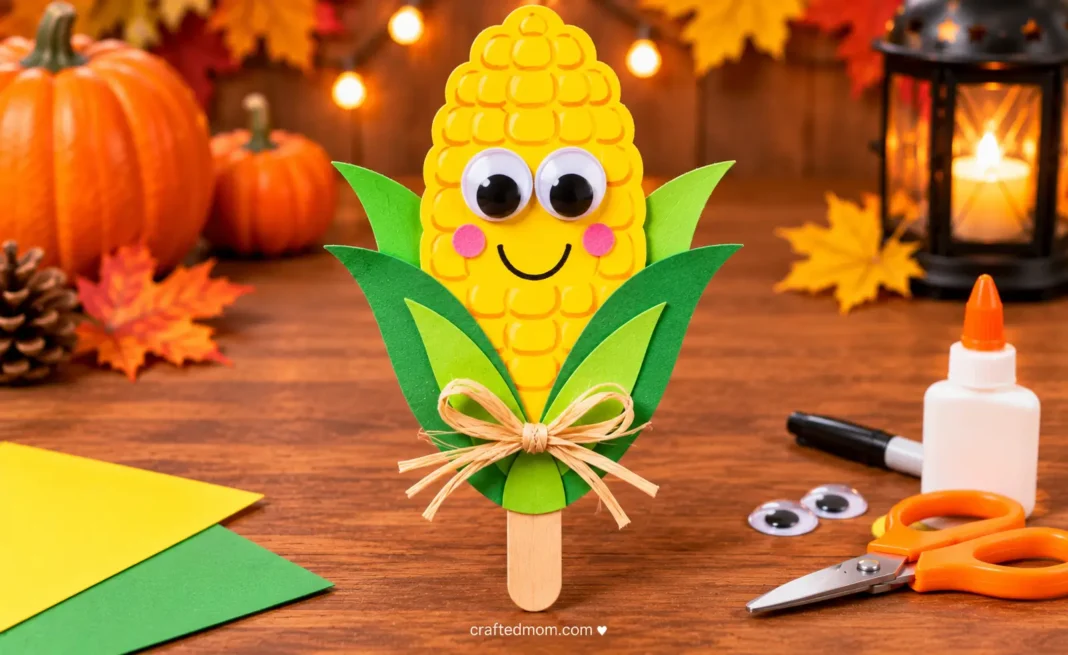
This corn popsicle stick craft turns a wooden craft stick and a few pieces of construction paper into a friendly ear of sweet corn. A bright yellow cob, green paper husks, and a googly-eyed face make it a cheerful project for fall, Thanksgiving, or a classroom harvest theme.
Younger children can decorate pre-cut shapes, while older kids can draw kernels and cut their own husks. Unlike Halloween candy corn, this looks like corn on the cob.
Why You’ll Love This Corn Popsicle Stick Craft
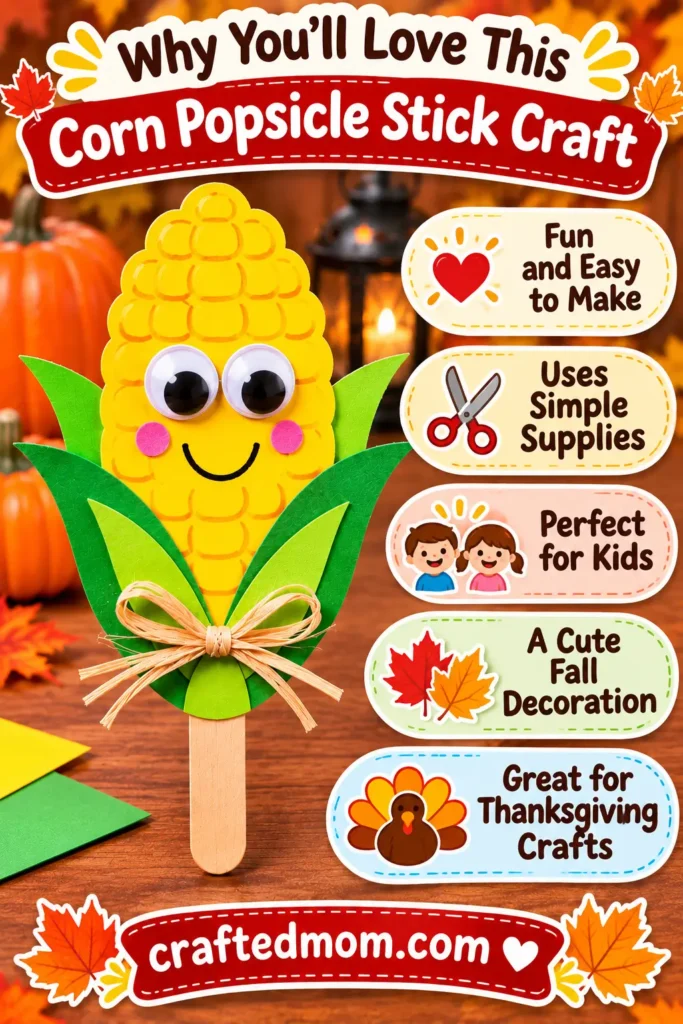
The craft stick supports the paper corn, so kids can focus on cutting and decorating. They can choose traditional yellow or experiment with harvest colors.
For groups, prepare paper shapes ahead of time and let children choose their corn’s expression.
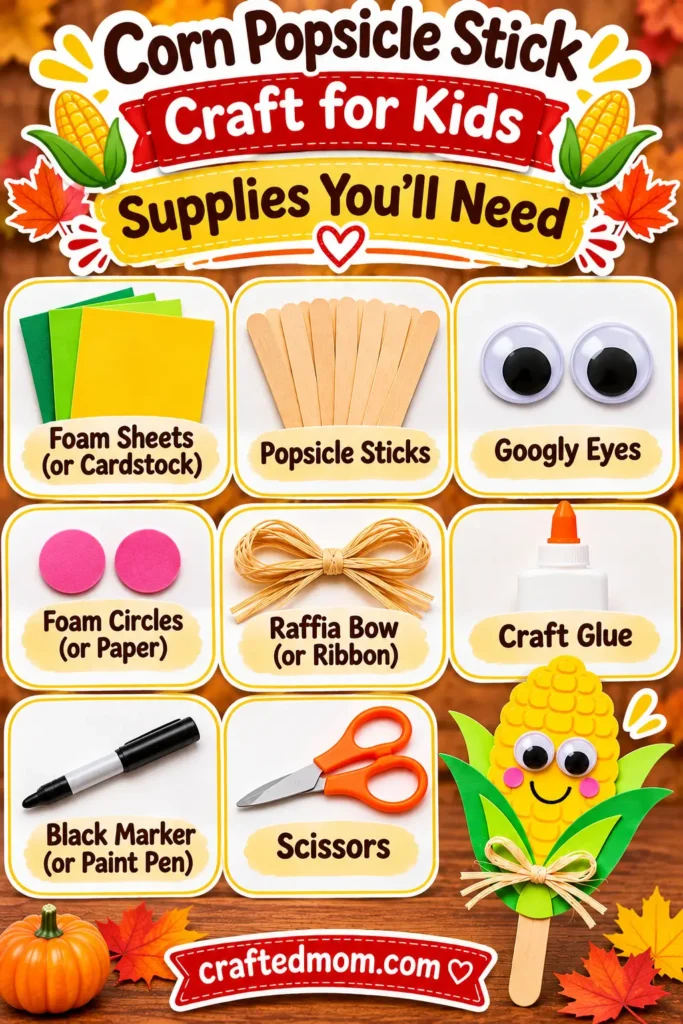
Supplies You’ll Need
Materials
- Wooden Popsicle Sticks: Support the paper corn and make the finished craft easier to hold.
- Yellow Construction Paper: For the sweet corn cob. Yellow cardstock is an optional sturdier alternative.
- Green Construction Paper: For the leaves, or husks, that wrap around the cob.
- Googly Eyes: Give the corn its friendly face.
- Craft Glue: Holds paper and eyes to the craft stick and cob. Choose a glue compatible with both materials.
- Black Marker: For a simple smile.
- Colored Markers (optional): For lines, dots, or shades that suggest corn kernels.
Tools
- Scissors: To cut the cob and husk shapes, with adult help as needed.
- Pencil: To sketch shapes before cutting.
You don’t need paint for this version. Paper provides the colors, which also saves a drying stage.
Before You Start: Prepare the Craft Materials
On a flat workspace, size a rounded yellow cob to the craft stick, leaving room for green husks along the sides.
For preschoolers, pre-cut the shapes but let children arrange them before gluing.
How to Make a Corn Popsicle Stick Craft
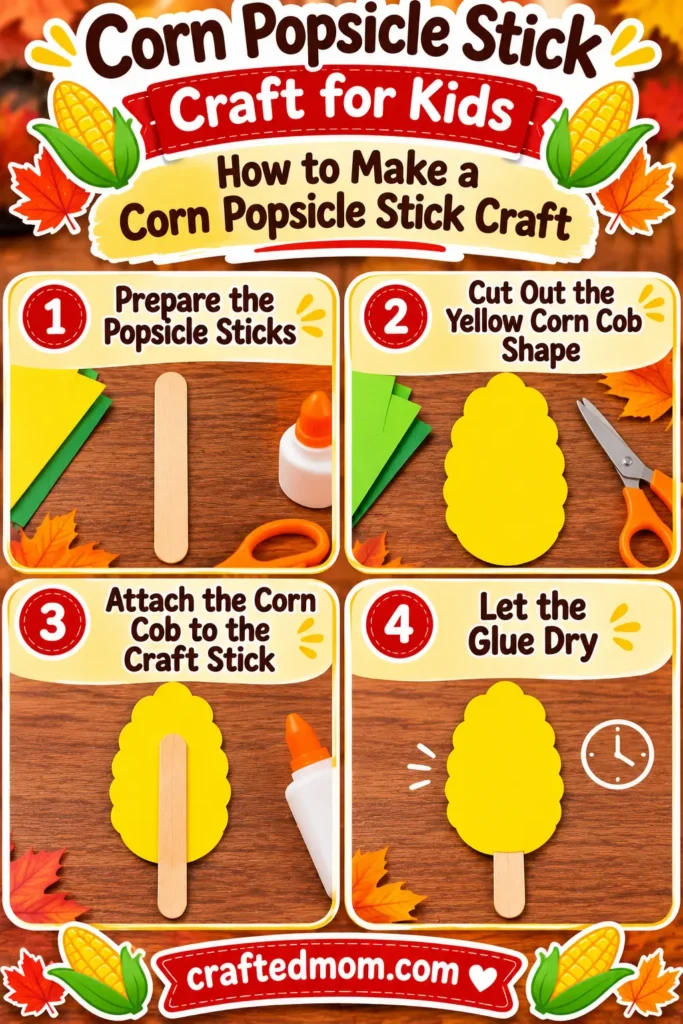
Step 1: Prepare the Popsicle Sticks
Lay a smooth, splinter-free craft stick vertically. Decide whether part of it will remain visible as a handle; no paint is needed.
Step 2: Cut Out the Yellow Corn Cob Shape
Draw a long, rounded cob on yellow paper, leaving room for eyes and kernels as well as green husks along the sides. Cut it out.
Step 3: Attach the Corn Cob to the Craft Stick
Glue the stick along the center back of the yellow shape. Press gently to keep the cob straight, with the upper stick end hidden behind the paper.
Step 4: Let the Glue Dry
Leave it flat while the glue grips. Straighten any shifting paper before lifting the craft.
Make the Corn Husks and Kernels
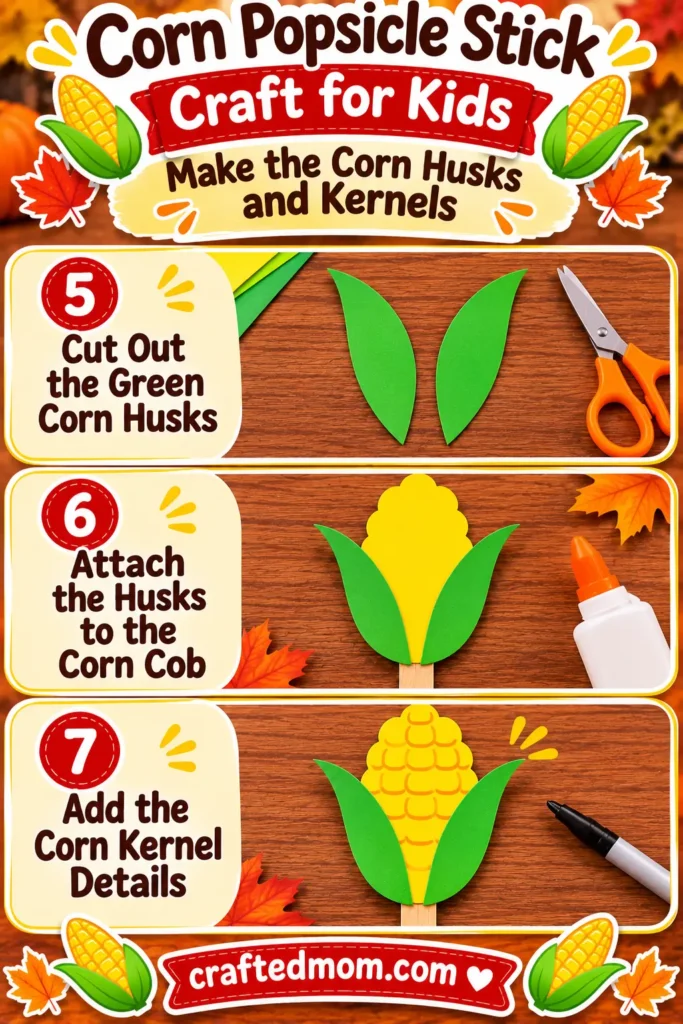
Step 5: Cut Out the Green Corn Husks
Cut two long, pointed leaves from green paper. They should cover the lower edges without hiding most of the cob.
Step 6: Attach the Husks to the Corn Cob
Arrange a husk along each side, angling their pointed ends outward like peeled-back leaves. Glue them down.
Step 7: Add the Corn Kernel Details
Draw small rounded kernel marks in rows on the exposed yellow paper, leaving room for the eyes.
Design the Corn Face and Add Finishing Touches
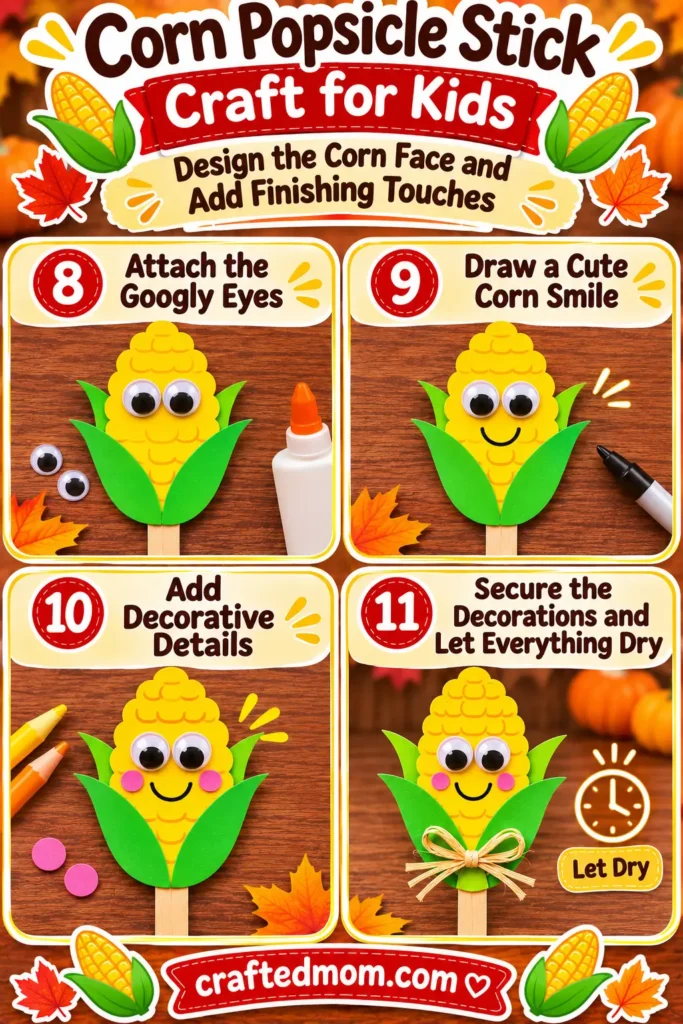
Step 8: Attach the Googly Eyes
Position the eyes above the smile area, adjusting the spacing before gluing.
Step 9: Draw a Cute Corn Smile
Draw a curved smile beneath the eyes, clear of the green husks.
Step 10: Add Decorative Details
Add a few kernels in a second shade, without covering the face or changing the recognizable corn shape.
Step 11: Secure the Decorations and Let Everything Dry
Press any lifting edges flat and let the craft dry according to the glue label before displaying it.
Easy Corn Popsicle Stick Craft Tips
Cut larger shapes for little hands. Wider husks are easier to place and less likely to tear when glue is applied.
Arrange before gluing. The green pieces can hide the yellow cob if placed too far inward. Check their position first.
Use only a little glue. Too much can wrinkle construction paper or make googly eyes slide.
Keep the face simple. If the kernel marks feel crowded, draw fewer rows and leave a clear space for the eyes.
For classroom groups, write each child’s name on the back of the craft stick after the glue is dry, or use a separate name card during drying.
Corn Popsicle Stick Craft Variations to Try
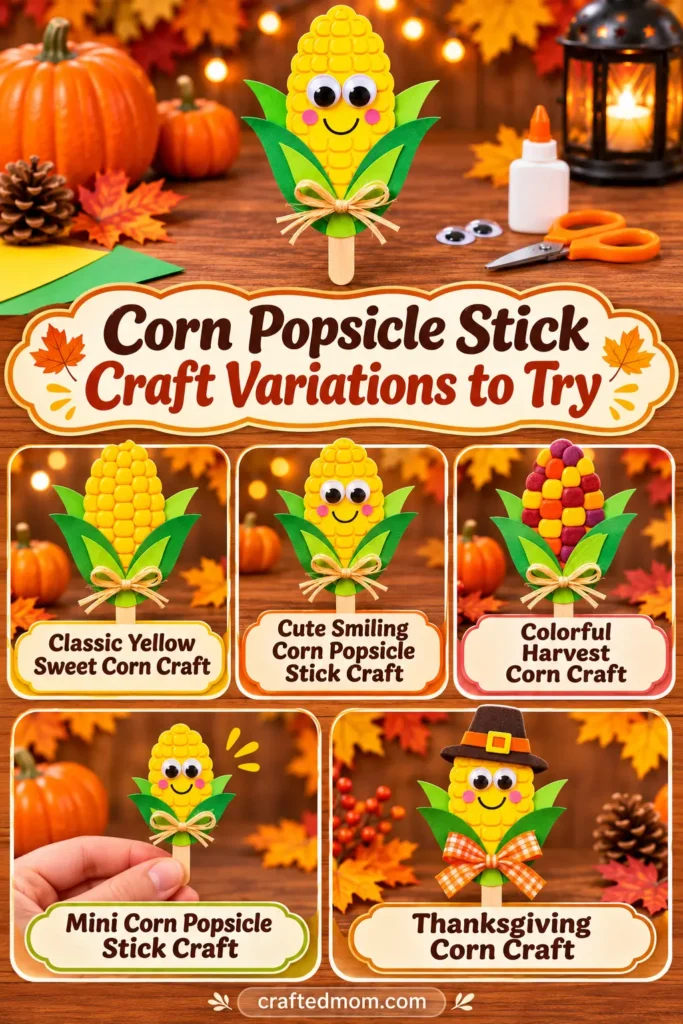
Classic Yellow Sweet Corn Craft
Use a bright yellow cob with green husks and simple kernel lines. Keep the face small or leave it off for a more traditional harvest look.
Cute Smiling Corn Popsicle Stick Craft
Make the eyes the focus, then draw a wide curved smile. Kids can experiment with funny expressions without changing the basic construction.
Colorful Harvest Corn Craft
Use markers in warm yellow, orange, and brown shades to suggest multicolored harvest corn. Keep the recognizable cob shape and leafy green husks.
Mini Corn Popsicle Stick Craft
Cut a smaller paper cob and shorter husks to match a shorter craft stick. Keep the features large enough to handle comfortably.
Thanksgiving Corn Craft
Choose warm harvest colors and display the finished ear of corn beside other Thanksgiving projects. This version works well as part of a group fall craft collection.
Ways to Use Popsicle Stick Corn Crafts for Fall
Thanksgiving Table Decorations
Place a finished corn craft at each child’s spot as a handmade seasonal accent. Keep it away from food and drinks so the paper doesn’t get damp.
Fall Classroom Craft Displays
Arrange the corn crafts in a row on a display board so each child’s different face and kernel pattern is visible. Wait until the adhesive is dry before attaching anything to the board.
Autumn Wall and Door Decorations
Use a finished craft on an indoor bulletin board or door display. Avoid hanging it where the paper might be bent or caught when the door opens.
Harvest-Themed Bulletin Boards
Group corn crafts with paper leaves and other fall artwork for a harvest scene. The repeated yellow-and-green shapes help the display look coordinated, even when the details differ.
Fall Farm-Themed Learning Activities
Pair the craft with an age-appropriate discussion of corn growing on a cob. Children can identify the cob, husks, and kernels as they decorate, without turning craft time into a complicated lesson.
Corn Popsicle Stick Craft Safety Notes: Adults should supervise cutting and gluing. Check wooden sticks for splinters and follow the adhesive’s age and handling directions. Googly eyes are small parts and may pose a choking hazard to young children who put objects in their mouths.
Keep the paper craft away from mouths, flames, and wet surfaces.
Can Preschoolers Make This Corn Craft?
Yes, with preparation and close supervision. An adult can pre-cut the yellow cob and green husks, leaving preschoolers to arrange the pieces, help with gluing, choose the eyes, and draw or point out a smile. If small googly eyes aren’t appropriate for a child, use larger drawn paper eyes instead.
Older kids can draw and cut their own shapes.
More Thanksgiving Popsicle Stick Crafts
For another harvest character, try Scarecrow Popsicle Stick Craft. If your group wants a Thanksgiving turkey, explore Turkey Popsicle Stick Craft or Thankful Turkey Popsicle Stick Craft, which focuses on gratitude messages.
You can also make a Popsicle Stick Pumpkin Craft as a fall pumpkin without the Halloween face. Browse more seasonal ideas in Thanksgiving Crafts for Kids.
This sweet corn project is different from the site’s Popsicle Stick Candy Corn Craft, which uses the three-color Halloween candy shape rather than an ear of corn.
Final Thoughts
This corn popsicle stick craft keeps the project simple: one paper cob, leafy green husks, and a friendly face. It’s easy to adapt for a classroom group or a quiet fall afternoon. Add it to a harvest display once dry.
Frequently Asked Questions
What Materials Do You Need for a Corn Popsicle Stick Craft?
Use wooden craft sticks, yellow and green construction paper, googly eyes, craft glue, and a black marker. Scissors and a pencil help with cutting and drawing. Colored markers for kernels are optional.
Can I Use Regular Popsicle Sticks Instead of Jumbo Craft Sticks?
Yes. Size the paper cob to the sticks you have, making sure there is enough wooden support behind the yellow shape.
How Do You Make Corn Husks from Construction Paper?
Cut two long, pointed leaves from green paper. Position them along the sides of the yellow cob, with their points angled outward, then glue them in place.
What Glue Works Best for Corn Popsicle Stick Crafts?
Choose a child-appropriate craft glue labeled for wood and paper. Follow the product directions and let it dry before lifting the craft.
How Do You Make Corn Kernels Look Realistic?
Draw small rounded marks in gentle rows on the yellow cob. A little variation in placement or color can suggest kernels without requiring every mark to match.
