Let’s be real, most of us can’t resist chocolate, but very few stop to think about how that luscious treat actually comes to life. It’s easy to forget that chocolate’s journey starts way before it hits the shiny wrapper at your local store.
The story begins far from bustling factories and candy aisles, deep in the tropical cacao farms of places like Ecuador, where the magic starts inside the humble cacao pod.
Homemade Milk Chocolate
1. What Is Chocolate Really Made From?
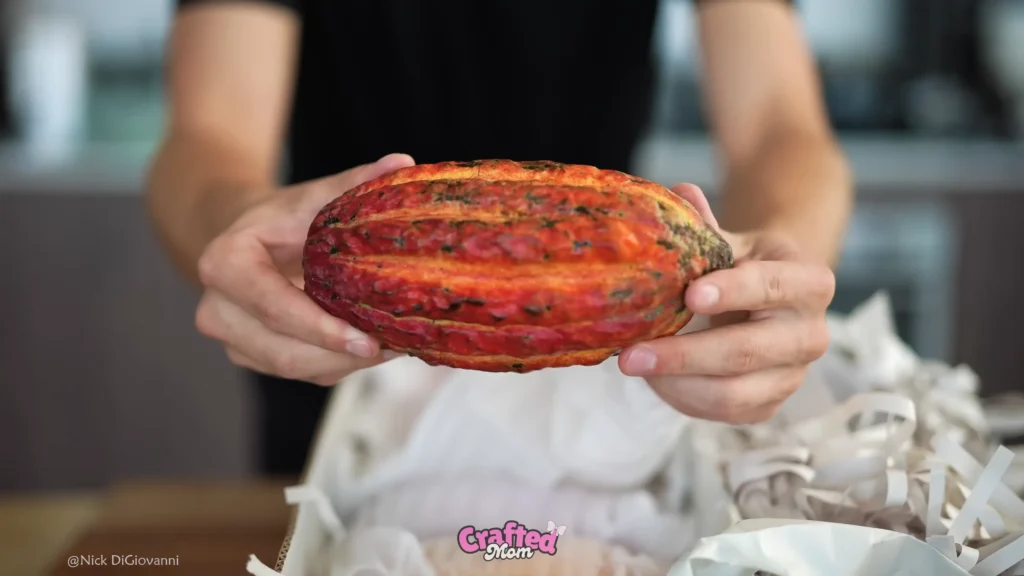
Chocolate Begins as a Fruit
Believe it or not, chocolate starts its life as a fruit, not a candy bar. It grows inside cacao pods, which hang like colorful lanterns from cacao trees. When you crack open one of these pods, you’ll find seeds (called cacao beans) nestled in a sweet, tangy pulp that’s surprisingly delicious on its own.
Different cacao varieties, like the prized Criollo and the flavorful Arriba Nacional, give chocolate its unique tastes and qualities, kind of like how apples come in granny smith or honeycrisp flavors.
Cashews and Other Food Mysteries
Here’s a fun fact: just like chocolate surprises you by coming from fruit pods, other everyday foods have unexpected origins. Take cashews, for example, those tasty nuts actually grow attached to a fruit called a cashew apple, not in a shell underground like peanuts.
The world of food is full of surprises, and chocolate’s story is one of the sweetest.
2. Visiting a Cacao Farm in Ecuador
Harvesting the Cacao Pods
Imagine stepping onto a bustling cacao farm in Ecuador, where the air is thick with tropical warmth and the soft rustle of leaves. Here, farmers carefully cut ripe cacao pods by hand every day, working through multiple ripening stages to ensure only the best pods are picked.
On a busy farm, up to 25,000 pods can be harvested daily, each one packed with the promise of future chocolate.
Fermentation Starts Immediately
Once the pods are picked, the real magic begins. The farmers break them open and start the fermentation process right away. This crucial step kickstarts the transformation that eventually develops those rich, complex chocolate flavors we all crave.
Inside a Cacao Pod
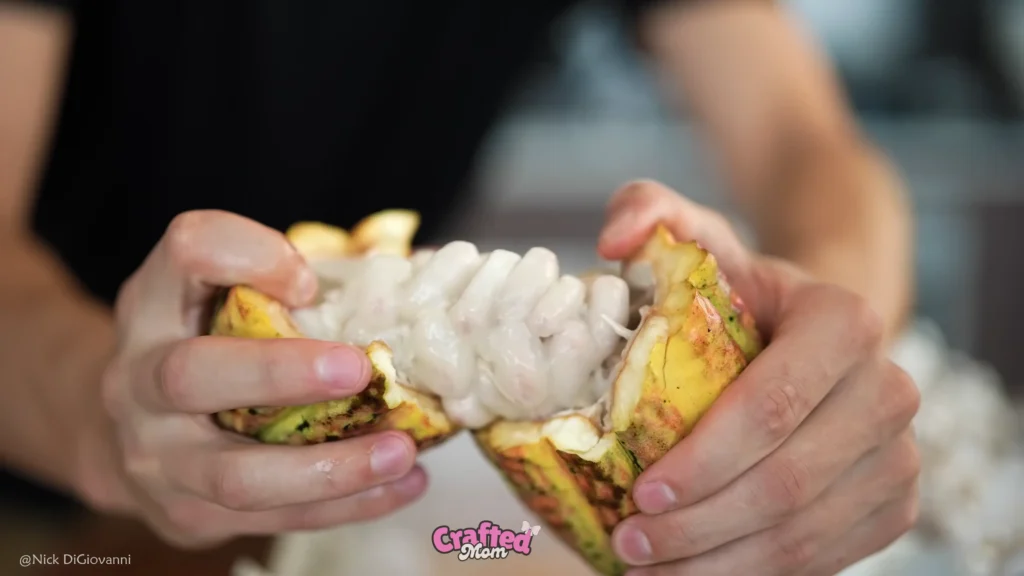
Inside each pod, you’ll find a cluster of purple beans wrapped in sweet, white pulp that tastes delightfully citrusy. As fermentation progresses, the beans slowly change color and texture, turning from bitter seeds into the beginnings of the chocolate you love.
Visiting a cacao farm is like witnessing chocolate’s secret origin story unfold, a beautiful blend of nature, tradition, and hard work.
3. Behind the Scenes at the Chocolate Farms
Global Chocolate Brands Source Here
The cacao farms you visit in Ecuador aren’t just local secrets, they’re the starting point for chocolate enjoyed worldwide. Big names like Mars (the folks behind M&M’s and Snickers) source their beans from these farms, relying on the quality and care that go into every harvest.
After fermentation, the beans are spread out in massive drying areas, usually long, sun-drenched rows where they slowly dry to perfection. This drying step is critical, it reduces moisture and locks in flavor before the beans head off to processing plants.
Sustainability Practices
Cacao farming isn’t just about quantity; many farms are also focused on sustainable practices to protect the environment and ensure future harvests. One interesting method involves replacing old cacao trees with new growth from the same root system, which helps maintain soil health and productivity.
It’s a delicate balance of tradition and innovation that keeps the chocolate supply flowing, all while caring for the land.
4. Back Home: Turning Cacao into Chocolate
Receiving Fresh Pods
After their journey from the sunny cacao farms of Ecuador, the pods arrive in places like Boston where the next chapter of chocolate-making begins. These pods vary in size and color, from bright yellows to deep oranges, and they’re surprisingly delicate, so handling them requires care and respect.
Opening and Fermenting the Seeds
Once unpacked, the pods are carefully karate-chopped or sliced open to reveal the treasure inside: the cacao beans. The beans, still coated in sweet white pulp, are gently squeezed out and spread onto trays for a week-long fermentation.
During fermentation, the beans develop that unmistakable alcohol-like smell and gooey texture, signals that the complex flavors of chocolate are starting to take shape.
5. Roasting and Separating the Beans
The Roasting Process
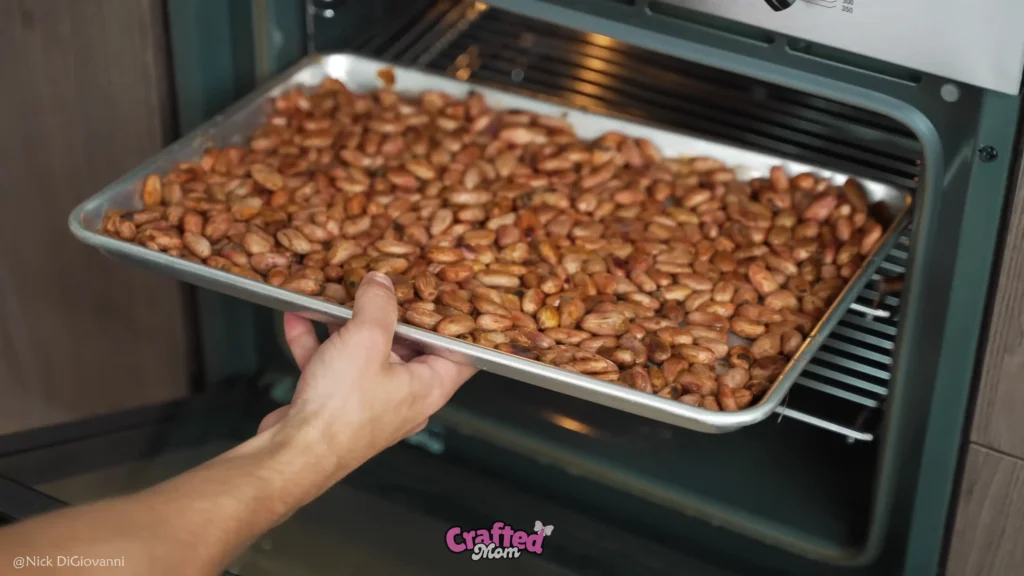
After fermentation, the cacao beans head to the roaster, where they’re baked at around 300°F until they turn a rich dark brown. This roasting step is crucial, it brings out the deep, complex flavors and aromas we associate with good chocolate, turning raw beans into something truly special.
Extracting Cacao Nibs
Once roasted, the beans are cracked open, usually by smashing them inside a bag or sheller, to separate the cacao nibs from their outer shells.
It’s the nibs that are the real star of the show. These crunchy bits are packed with intense chocolate flavor and are the essential ingredient used to make chocolate liquor, the base for all your favorite chocolate bars and treats.
6. Grinding and Refining Chocolate
Using a Stone Grinder
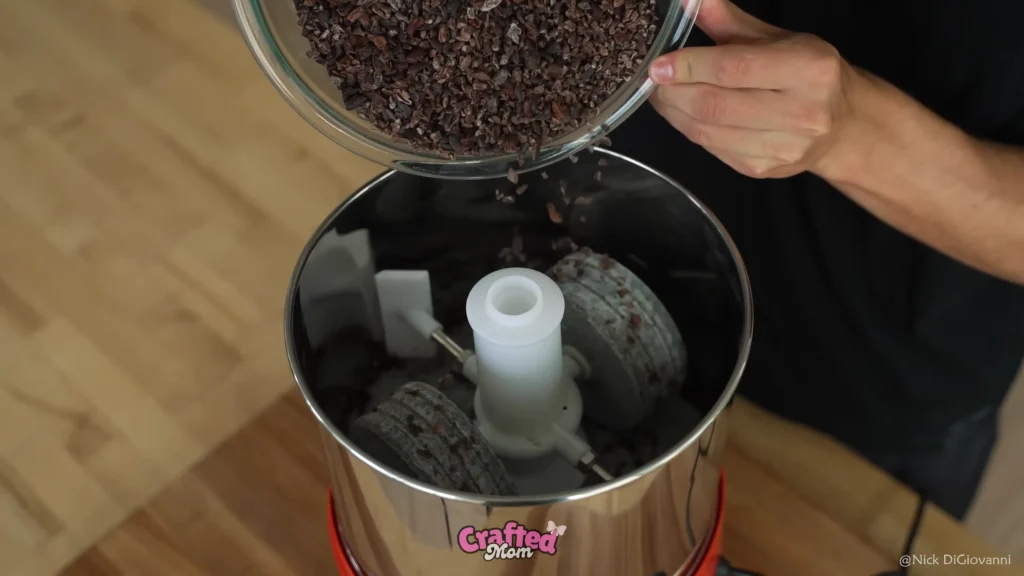
Next, those cacao nibs get a serious makeover. They’re slowly ground down in a stone grinder until they turn into a smooth, rich paste called chocolate liquor. This is the foundation of all chocolate, bitter, intense, and ready for some sweetening.
To make that classic milk chocolate we all love, sugar and milk powder are added during this stage, blending seamlessly into the thick chocolatey paste.
Tempering and Molding
Once your chocolate is silky smooth, it’s poured into molds, carefully leveled, and cooled down to set.
While this method might skip the full professional tempering process used by big factories, it still results in a shiny, solid finish with that satisfying snap when you break it.
7. The Final Product: Homemade Chocolate Bars

Dark and Milk Chocolate Bars
After all that care and craftsmanship, the result is pure magic: smooth-textured chocolate bars with that classic snap we all crave. Whether you prefer the bold richness of dark chocolate or the creamy sweetness of milk, these bars deliver a complex, fruity flavor straight from the farm to your fingertips.
Taste Test and Reflection
The moment you take a bite, the chocolate melts luxuriously on your tongue, unveiling layers of flavor, from deep cocoa notes to subtle hints of fruit and spice. It’s a delicious reminder of the long, fascinating journey every cacao bean takes to become the chocolate you love.
Making chocolate at home lets you appreciate the craft and passion behind each bar, a true celebration of the bean’s transformation from nature to indulgence.
Conclusion: Why Knowing Where Your Food Comes From Matters
It’s wild to think that most of us enjoy foods like chocolate every day without really knowing where they come from or how they’re made. Taking a deeper dive into the chocolate-making process not only adds layers of appreciation but also makes each bite feel even more special.
Understanding the journey, from cacao pod to your favorite candy bar, connects us to the people, places, and traditions behind the food we love. Stay tuned, I’ll be sharing more fascinating explorations of food origins soon. Because the stories behind our favorite flavors deserve to be told.
Frequently Asked Questions:
What ingredients do I need for Homemade Milk Chocolate?
To make Homemade Milk Chocolate, you’ll need cocoa powder, powdered milk, cocoa butter, sugar, and a pinch of salt for balance.
How long does Homemade Milk Chocolate last?
Homemade Milk Chocolate can last up to 2–3 weeks when stored in an airtight container in a cool, dry place, no refrigeration needed.
Can I make Homemade Milk Chocolate without cocoa butter?
Yes, you can substitute coconut oil for cocoa butter in Homemade Milk Chocolate, but the texture will be softer and melt faster at room temperature.

