
Spring always feels like the perfect time to pull out simple craft supplies and make something bright and happy with my kids. Bees are such a fun part of the season, and they fit right in with all the flowers, gardens, and sunny day activities that start popping up this time of year. I especially love crafts that feel cheerful without turning into a huge mess on my table.
This paper plate bee craft is one of those easy wins I keep coming back to. It is simple enough for preschoolers, fun for kindergarteners, and still cute enough that older kids enjoy making it too. Paper plate crafts are also great for home, classrooms, and daycare because they use basic supplies, give kids plenty of room to create, and do not need anything fancy to turn out adorable.
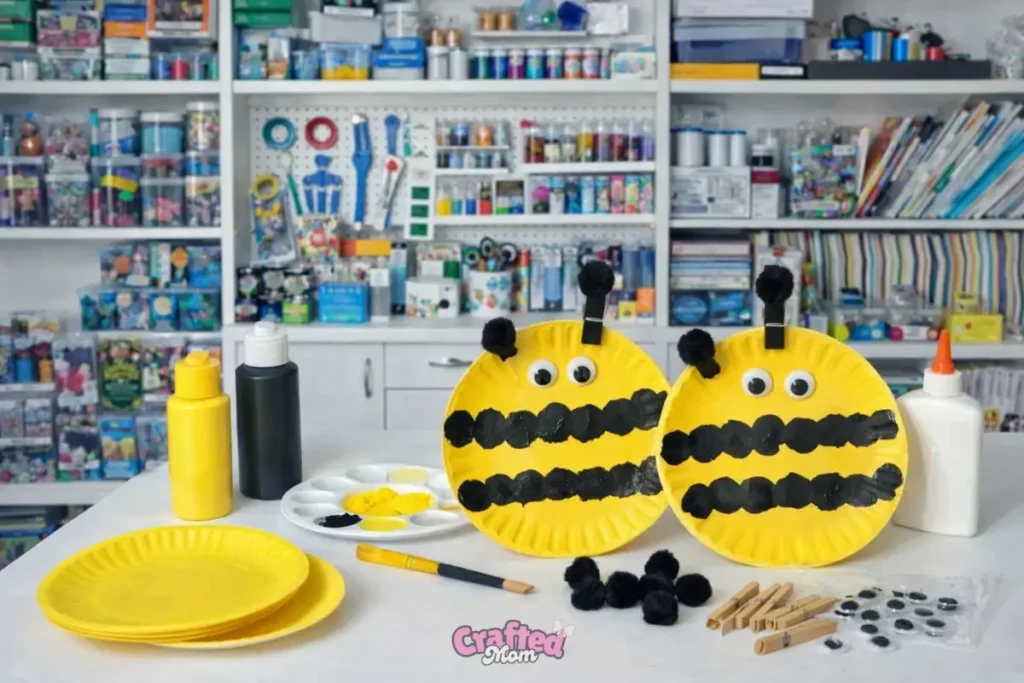
What You’ll Need for This Paper Plate Bee Craft
One thing I love about this craft is that I usually already have most of these supplies tucked away somewhere, which is always a small parenting victory. You do not need anything fancy or hard to find, and that makes this a really easy project to pull together on a spring afternoon.
Main supplies
For this Paper Plate Bee Craft, I use:
Optional supplies
I do sometimes add a few extras, depending on the age of the kids or how much time I have. These are not required, but they can make the craft easier or a little more fun.
- Yellow paper plates, if I want to skip paint and save drying time
- Paintbrushes, if my kids would rather brush on the paint than use pom poms
- Scissors, for trimming paper or shaping extra details
- White paper or coffee filters, for simple bee wings
- Black marker, for adding a smile or little face details
I keep these nearby, then use only what I need.
How to Prepare for the Craft
Before I start, I like to keep setup simple so the craft feels fun right from the beginning. I cover the table first, usually with newspaper, a plastic tablecloth, or whatever I can grab quickly. Then I set out all the supplies ahead of time so I am not digging through drawers with paint on my hands.
I also make sure the kids are wearing old clothes or aprons, because yellow and black paint always seems to end up somewhere unexpected. Before we begin, I decide whether I want to paint the plates first or just use yellow paper plates to save time and skip the drying step.
How to Make a Paper Plate Bee Craft Step by Step
Step 1: Paint the paper plate yellow
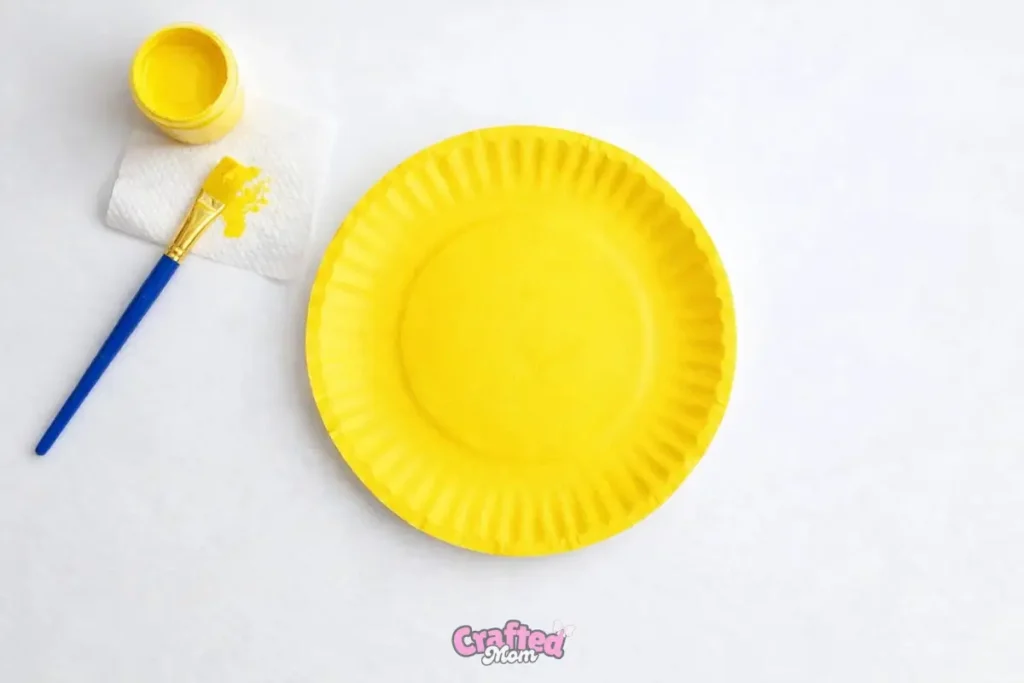
I start by painting the front of the paper plate yellow. I usually let my kids use a paintbrush and cover the whole middle first, then work out toward the edges. It does not need to look perfect. Honestly, once the stripes and face go on, nobody notices a streaky spot here and there.
I try to make sure the front is mostly covered so the bee looks bright and finished. Then I set it aside to dry. In my experience, it usually takes about 15 to 30 minutes, depending on how much paint the kids used. If I want a faster version, I just use yellow paper plates and skip this part completely. That is usually my move when I do this with little kids who are not in the mood to wait.
Step 2: Add the black stripes
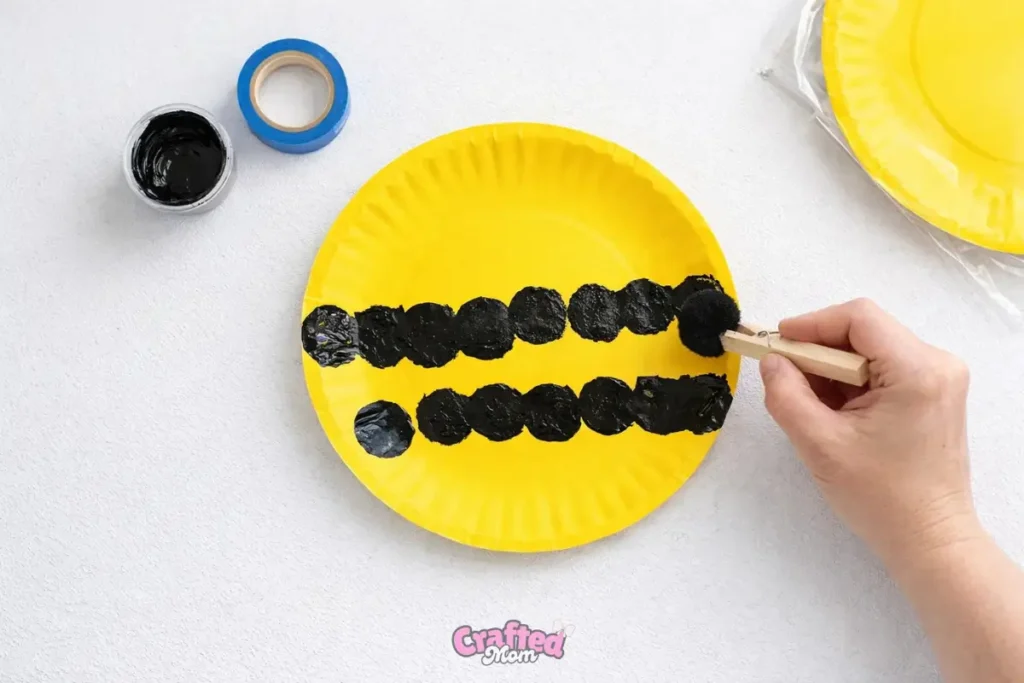
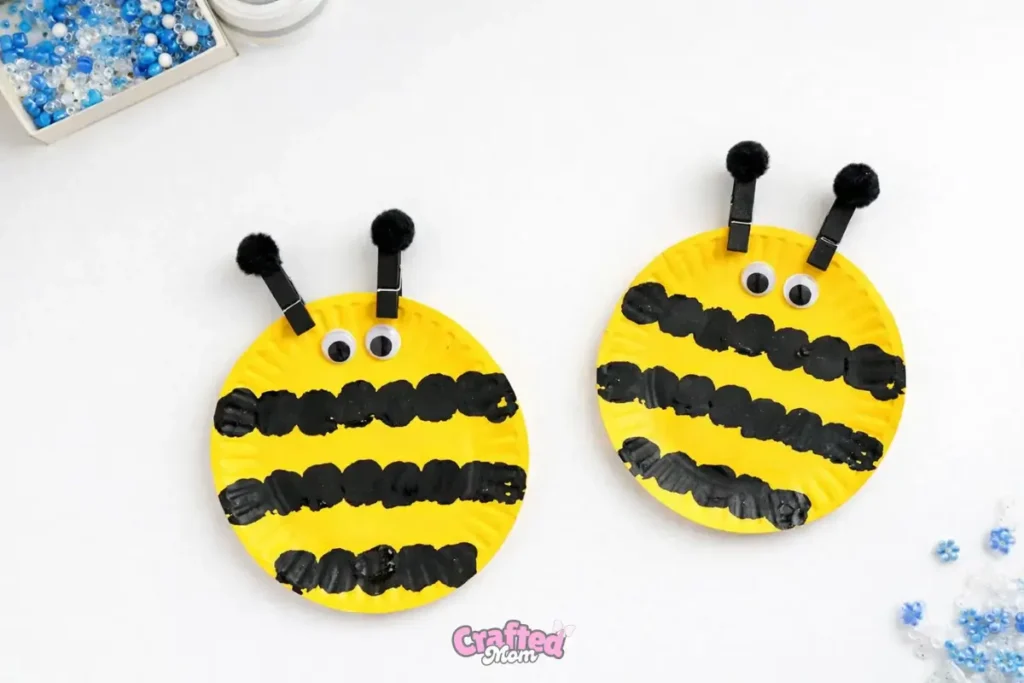
Once the yellow paint is dry, I add the black stripes. I place them across the lower half of the plate and leave the top part yellow for the face. That simple layout makes the bee easy for kids to recognize right away.
I have done the stripes with both a paintbrush and a pom pom clipped into a clothespin. Both work, but the pom pom is fun for preschoolers because they can dab instead of paint carefully. I usually make two or three stripes, spaced out enough so the yellow still shows between them. I keep the top section clear so there is room for the eyes and smile later.
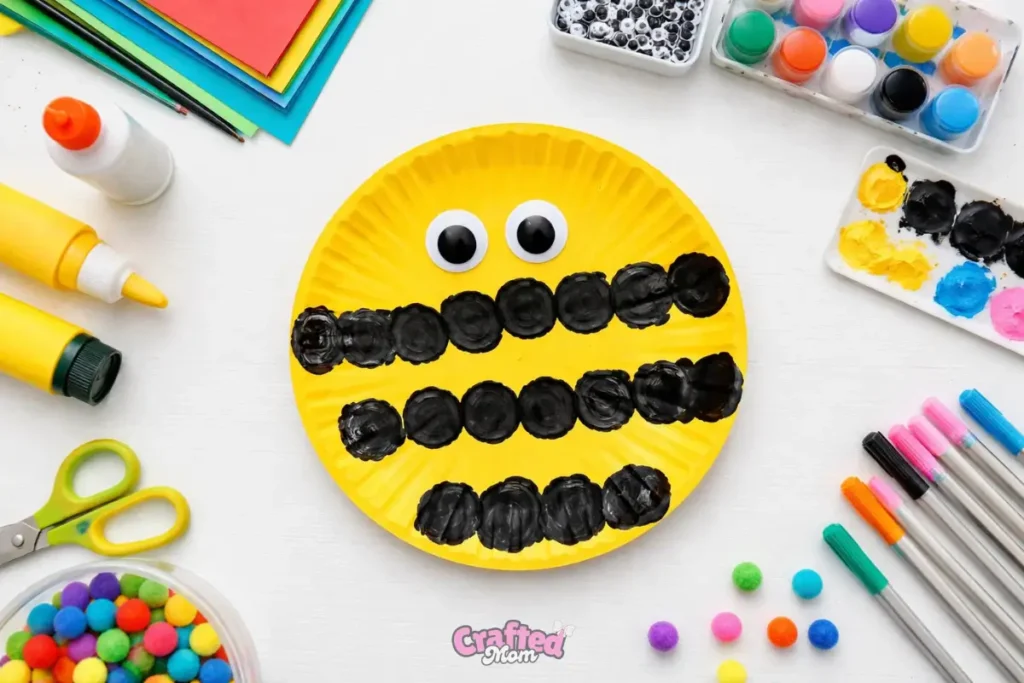
Step 3: Make the antennae, the eyes and face
For the antennae, I paint two wooden clothespins black and let them dry. I do this while the plate is drying so I am not standing around waiting with impatient kids, which never goes especially well in my house.
Once the clothespins are dry, I glue one black pom pom to the top of each one. I use just a small dot of glue so it does not slide everywhere. Then I let them dry fully before attaching them to the plate. If I rush this step, the pom poms usually end up falling off, and then I get that look from my kids like I ruined the whole bee.
Next, I glue the googly eyes onto the yellow part near the top of the plate. I keep them fairly close together so the face looks cute and simple. If I want to add a little more character, I draw on a small smile with a black marker or use a tiny bit of black paint.
For younger kids, I keep the face really basic. Eyes and a smile are enough. Too many little details can turn a fun craft into one of those projects where everybody suddenly needs help at the exact same time.
Step 5: Attach the antennae and any extra details
Once the antennae are dry, I clip or glue them to the top of the plate. After that, I sometimes add wings using white paper or coffee filters if I want the bee to look a little fuller. Both are easy and lightweight, which helps everything stay in place.
Before the kids run off holding their bees in the air, I let the whole thing dry for a few more minutes. That last bit of patience helps a lot, especially if glue was used for the antennae or wings.
Easy Ways to Adapt This Bee Craft for Different Ages
For preschoolers
When I do this craft with preschoolers, I keep things really simple. I usually prepare a few pieces ahead of time so the project feels fun instead of frustrating. That might mean pre-painting the clothespins, setting out the googly eyes, or even using yellow paper plates so we can skip the waiting part.
I also keep the face basic, just eyes and maybe a small smile. At this age, I focus mostly on painting and gluing, because that is where they usually have the most fun anyway.
For kindergarten and older kids
With kindergarteners and older kids, I give them a little more freedom. I let them paint the black stripes on their own and decide how they want their bee to look. Some kids like a classic bee, and some go fully creative, which I honestly love.
Ways to Use This Spring Bee Craft
I like having a craft that is cute but also easy to use in different settings. This bee works well for more than just a fun afternoon project, which makes it one of those crafts I end up pulling out more than once during spring.
I have used it for:
- spring classroom bulletin boards
- insect or pollinator lessons
- a simple Letter B craft activity
- garden theme units at home or in the classroom
- a rainy day craft when the kids need something cheerful to do
It is also easy to tie into a quick chat about bees, flowers, and why pollinators matter. That little extra connection makes the craft feel even more meaningful without adding extra work.
What Kids Can Learn From This Craft
One thing I really love about this craft is that kids are having fun, but they are also practicing a few important skills without even thinking about it. The painting and gluing help with fine motor control, especially for little hands that are still working on coordination.
It is also a simple way to reinforce color recognition, since kids are clearly working with yellow and black as they build their bee. I have found that crafts like this are also great for helping kids follow simple steps in order, which can be a challenge for some little ones.
If you are doing a spring or insect theme, this is also a nice chance to talk about bees, flowers, and why pollinators are important in nature.
Frequently Asked Questions
Can I use yellow paper plates instead of painting?
Yes, this saves time and works well for group crafts.
What can I use instead of clothespins for the antennae?
Pipe cleaners, black paper strips, or craft sticks can work.
Can toddlers make this craft?
Toddlers may need more hands-on help, especially with painting and gluing smaller pieces.
How long does this craft take?
Usually about 20 to 30 minutes, plus drying time if you paint the plate.
