Let’s be honest, once you’ve had crispy chicken fried rice made from scratch, the takeout version just doesn’t hit the same. I used to think fried rice was one of those things best left to the pros at the hibachi grill. But once I learned a few simple tricks (and trust me, they’re easier than you think), I was whipping up crispy, golden, flavor-packed rice right in my own kitchen.
In this guide, I’ll Walk you through everything you need to know to turn basic ingredients into restaurant-level fried rice, crispy bits, tender chicken, and all.
Here’s what you’ll learn about Egg Fried Rice:
- Why cooking from scratch makes all the difference
- How to prep your rice, chicken, and veggies for max flavor
- The key to getting that crispy, toasty edge on your rice
- Plus, how to plate it like you just stepped off a Food Network set
Grab your work (or a big skillet, we’re not picky), and let’s make some magic happen.
Section 1: Why Homemade Chicken Rice is a Game-Changer
So, here’s the thing, most people just toss leftover white rice into a pan and call it fried rice. But if you really want to level up your game, making chicken rice from scratch is the move. It’s richer, toastier, and every single grain soaks up flavor like a sponge.
What Exactly Is Chicken Rice?
Instead of using plain white rice, we’re talking about:
- Rice that’s simmered with crispy chicken skin, aromatic ginger, and green onions
- Often cooked in chicken stock or broth to boost umami
- Then cooled and dried overnight for that perfect fried texture
The result? A golden, fluffy rice base that already tastes amazing before it ever hits the pan.
Why It’s Worth the Effort
Insane Flavor
You’re not just getting heat and soy sauce. You’re getting layered flavor from rendered chicken fat, stock, and aromatics.
Perfect Texture
Letting it cool overnight helps the grains firm up, no mushy mess here. Just that iconic crispy bite around the edges.
Total Control
You get to adjust salt, oil, and spice to your taste, way better than mystery takeout.
Section 2: Preparing the Chicken Rice
Alright, let’s get into the heart of this dish, the flavor-packed rice that makes your fried rice unforgettable. We’re not just cooking rice here, we’re building a savory, aromatic base that’s gonna make your kitchen smell amazing.
Ingredients You’ll Need:
- 1 bone-in, skin-on chicken thigh (yep, we want all that juicy flavor and fat)
- A few slices of fresh ginger
- 2–3 stalks of green onion, roughly chopped
- 1 cup of rinsed jasmine rice
- 1¼ cups of chicken stock (homemade if you’re fancy, store-bought if you’re busy, no judgment!)
- A good pinch of salt
Step-by-Step Instructions:
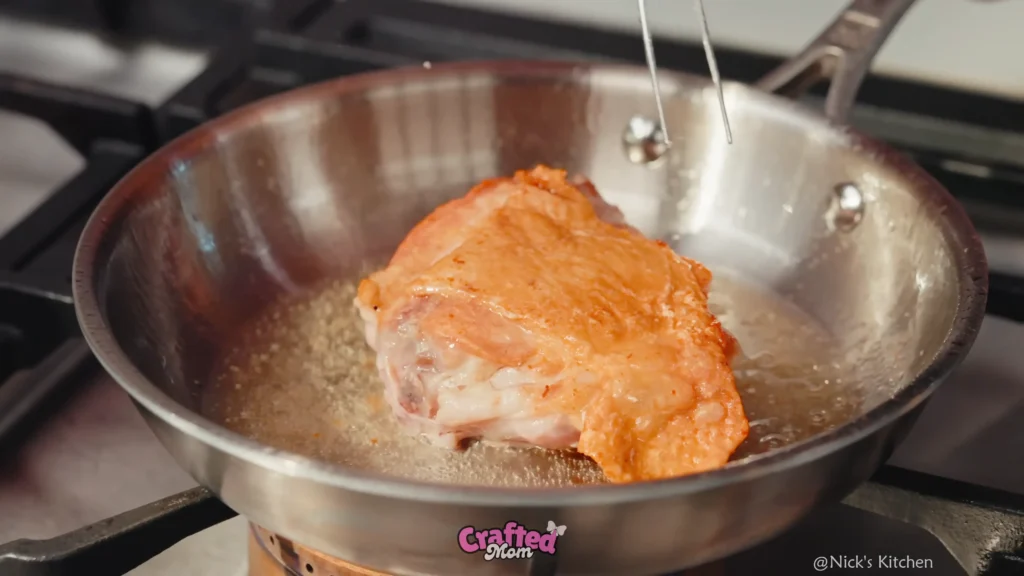
- Crisp the Chicken Skin
Start by placing the chicken thigh skin-side down in a pan over medium heat. Let it render and crisp up, don’t rush it. This fat is liquid gold for your rice. - Assemble the Flavor Base
In a pot, combine your rinsed rice, ginger slices, green onion, salt, and the crispy chicken (skin and all). Pour in the chicken stock and give it a gentle stir. - Bring to a Boil, Then Simmer
Bring the whole thing to a boil, then lower the heat and cover. Let it simmer for 10 minutes without peeking. - Steam It Off the Heat
After simmering, turn off the heat but keep the lid on. Let it steam undisturbed for another 10 minutes. This trick gives you fluffy, separated rice without burning the bottom. - Cool and Dry the Rice
Spread the cooked rice out on a baking sheet in a thin layer. Pop it in the fridge overnight (or at least 6 hours). This step is non-negotiable if you want those crispy, golden grains tomorrow.
Section 3: Prepping Your Fried Rice Ingredients
Okay, rice is chilling in the fridge, now let’s get the rest of the crew ready. The secret to restaurant-style fried rice isn’t just in the technique, it’s in nailing the prep. When everything’s chopped, cracked, and ready to toss in, you’ll cook faster, cleaner, and with way more confidence.
Aromatics & Add-Ins You’ll Need:
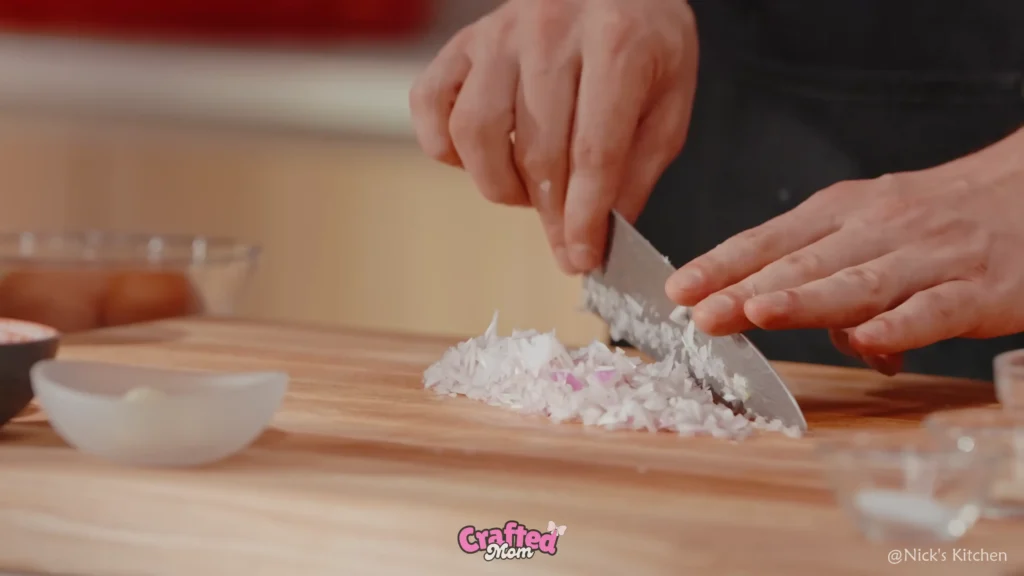
- 1–2 finely chopped shallots
→ Try to cut them to about the size of your rice grains so they mix in seamlessly. - 2 cloves of garlic minced super fine
→ Garlic burns fast, so smaller = better. - 2–3 stalks of green onion, sliced thin
→ Use the whole thing, yes, even the white parts! They add a nice bite. - 2 whole eggs + 1 extra yolk
→ That extra yolk? It gives the rice that glossy, golden richness you didn’t know you were missing.
Quick Prep Tips (From My Kitchen to Yours):
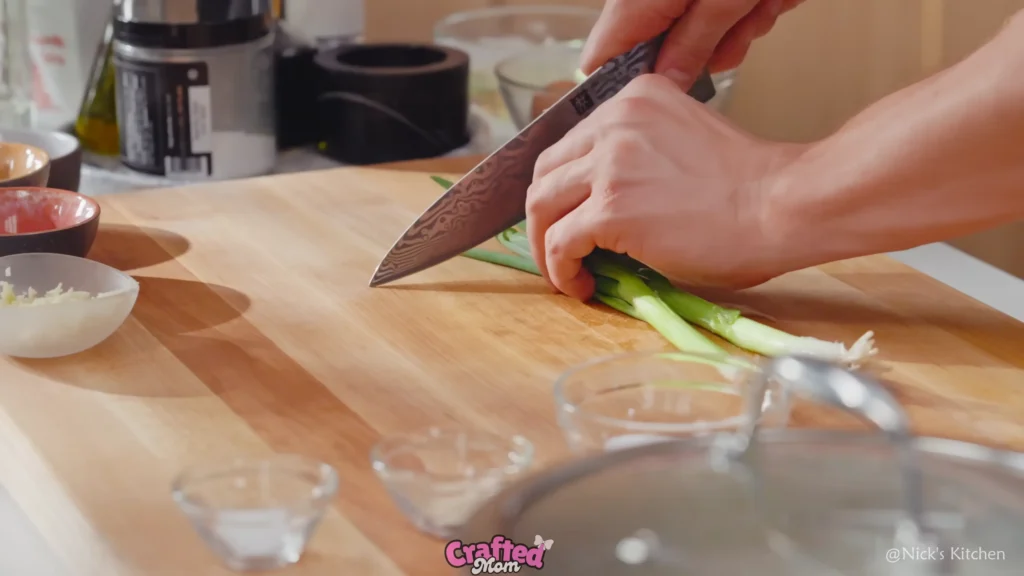
Sharp Knife = Happy Eyes
Chopping shallots with a dull knife is a one-way ticket to crying over your cutting board. Keep that blade sharp or pop the shallots in the fridge for 15 minutes before chopping. Total game-changer.
Garlic Goes Finer Than Shallots
If your garlic chunks are too big, they’ll brown too fast and go bitter. Take your time and mince it like you’re making a garlic confetto.
Use All of the Green Onion
The white root ends are packed with flavor, don’t toss them! Slice them up thin and cook them with your aromatics. Save the green tops for garnish or stir them in at the end for that fresh finish.
Section 4: Cooking the Perfect Fried Rice in a Wok
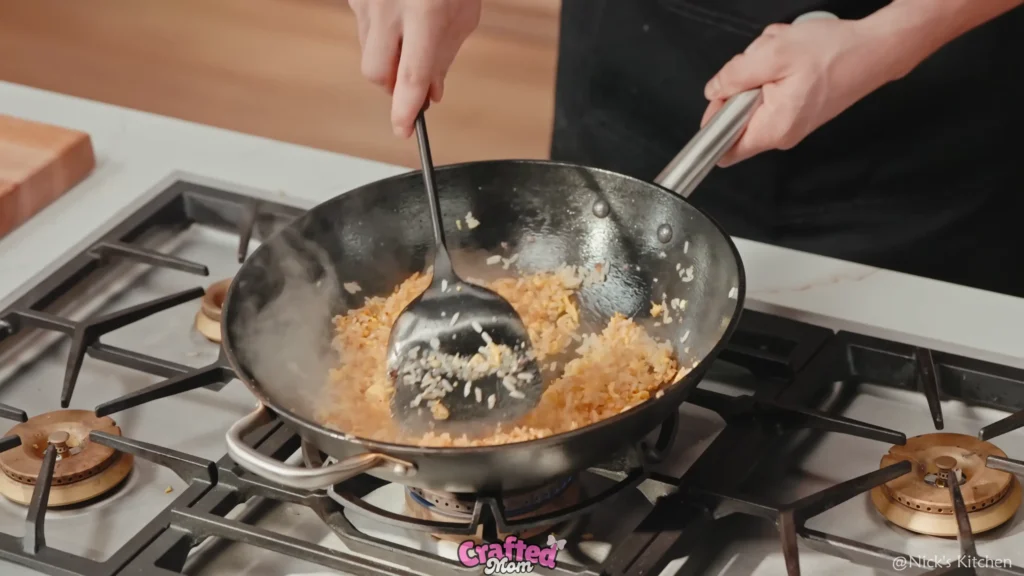
Now for the fun part, the sizzle, the aroma, the moment your kitchen turns into your own hibachi show. Cooking fried rice in a wok (or a heavy pan if that’s what you’ve got) is all about heat, timing, and movement. Once that wok’s hot, things move fast, so keep everything close and ready to go.
Step-by-Step Instructions:
- Oil the Wok
Pour in a splash of neutral oil (like canola or peanut) and heat it until it’s literally smoking. You want that pan screaming hot.
This step seasons your work and prevents sticking. - Pour Out Excess Oil
Just tilt and pour, this step is mainly to prime the pan. - Add Chicken Fat + Aromatics
Toss in your reserved chicken fat, garlic, and shallots. Stir constantly for 30–45 seconds, you’re coaxing out flavor, not burning. - Scramble the Eggs
Push the aromatics to one side, pour in the 2 eggs + 1 yolks, and scramble until fluffy. Keep them moving, they cook quick! - Add the Chilled Rice
Stir in your overnight-dried chicken rice and break up any clumps. Let it cook for 2–3 minutes, tossing often to get those crispy edges. - Flavor Bomb: Soy Sauce on the Edge
Push the rice to one side, tilt the wok, and drizzle your soy sauce along the hot edge so it caramelizes slightly before hitting the rice. That’s where the deep, smoky flavor comes from. - Add Sesame Oil
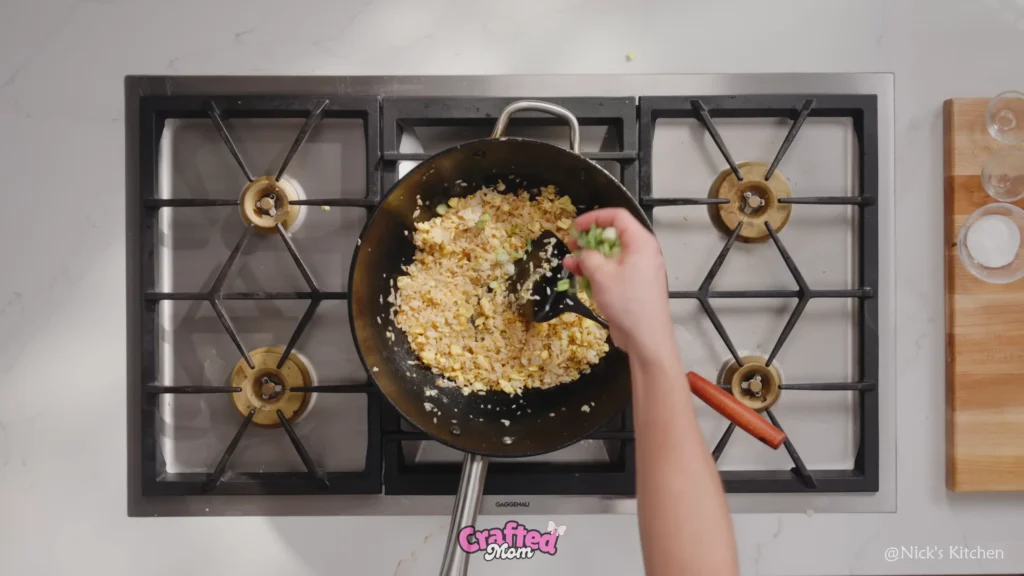
Just a small drizzle for aroma and richness, mix well to coat everything evenly. - Toss in Green Onions (and Chili, if you like a kick)
Stir through and cook for just another 30 seconds to keep that fresh crunch. - Final Flip and Plate It Up
Give it one last toss, everything should be golden, fluffy, and crazy fragrant.
Pro Tips from My Wok to Yours:
- Keep it moving: Stir constantly to prevent burning and ensure even heat.
- Listen to the sizzle: That sound = the right temperature.
- Soy sauce + hot edge = flavor magic: Don’t just dump it on top, let it hit the heat first.
Section 5: Plating and Presentation Like a Pro
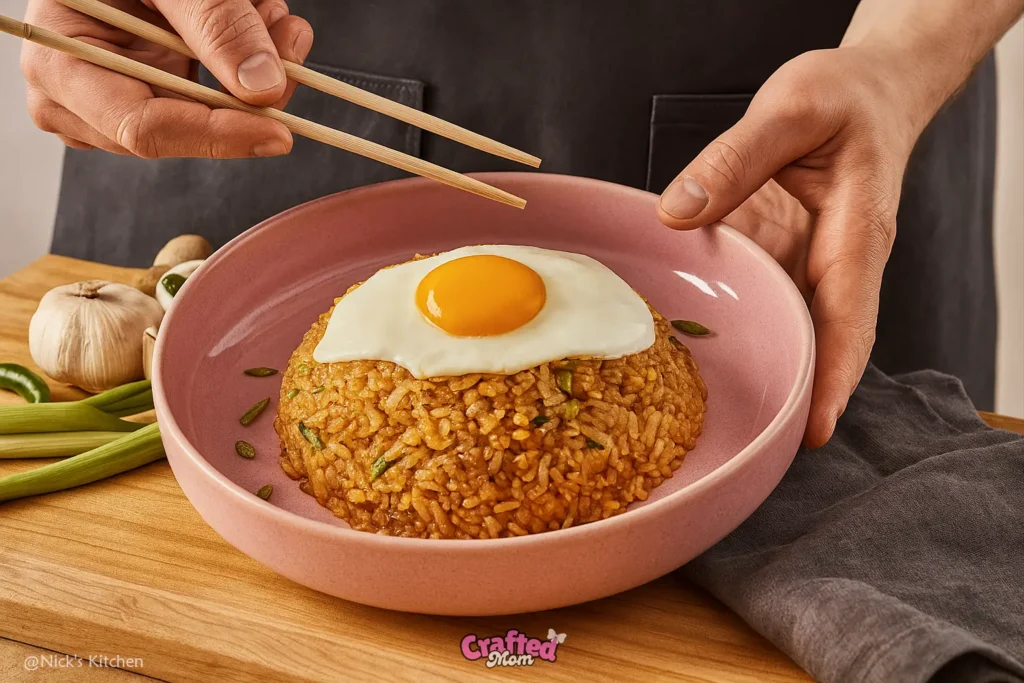
You didn’t come all this way just to scoop rice on a plate and call it a day, right? We’re going to full restaurant mode here. With just a little extra effort, you can make your homemade crispy chicken fried rice look as good as it tastes, no fancy gear required.
How to Plate It Beautifully
Here’s the trick to that classic dome-shaped presentation you see in all the best spots:
- Scoop your fried rice into a small bowl (something like a soup bowl or a rice mold).
- Press it down gently to pack it just enough to hold its shape.
- Flip the bowl over on your serving plate and give it a tap. Voilà, perfect rice dome.
- Finish with a generous sprinkle of freshly chopped green onions for color and crunch.
Optional glam: You can dust a pinch of toasted sesame seeds or a few chili flakes on top if you’re feeling extra.
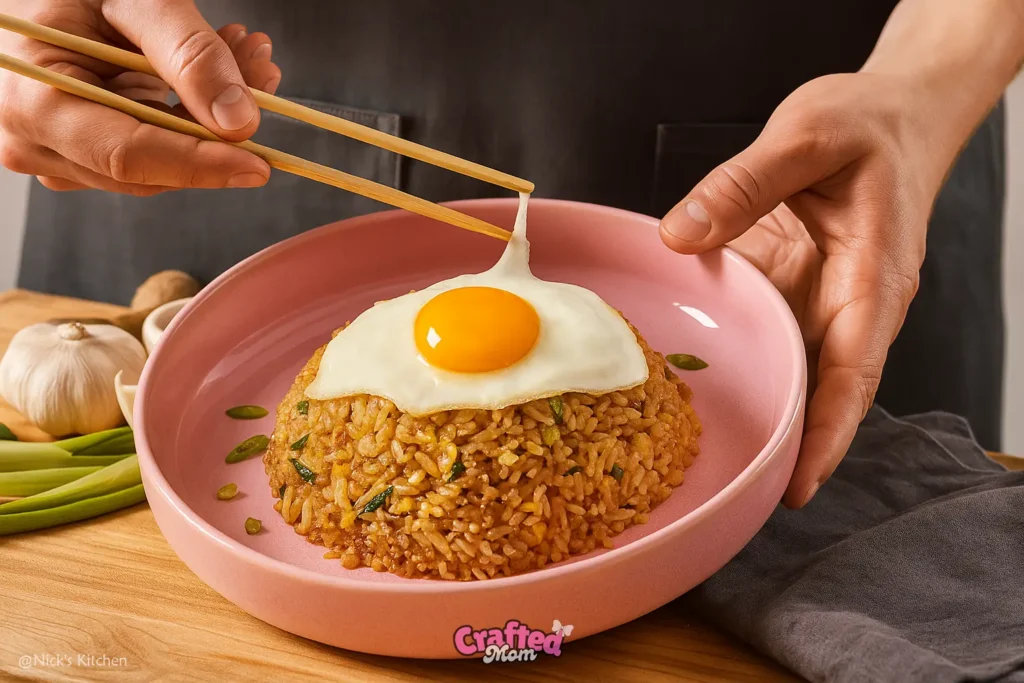
The Sunny Side-Up Egg Finish Now for the crown jewel. A runny yolk over crispy rice? Heaven.
Melt a little butter in a nonstick pan over medium heat.
- Crack in the egg gently. Cover with a lid and let it steam for a minute or two.
- You’re aiming for just-set whites and a gorgeous runny yolk.
- Use a spatula to gently place the egg on top of your rice dome, like the golden cherry on top.
Conclusion: More Than Just Fried Rice, It’s an Experience
Making fried rice from scratch isn’t just about ticking boxes or filling your belly. It’s about transforming simple ingredients into a crispy, flavorful experience that makes every bite memorable.
From rendering that crispy chicken skin, mastering high-heat wok techniques, to plating it all like a pro, every little detail adds up to restaurant-quality magic right in your own kitchen.
Whether you’re cooking up a quick weeknight dinner or trying to impress guests with a show-stopping dish, this method guarantees fried rice that’s packed with flavor, texture, and love.
So, grab your work, turn up the heat, and let’s get cooking. Your taste buds will thank you.
Frequently Asked Questions:
What’s the best rice to use for egg fried rice?
Use day‑old, fully cooled rice, ideally jasmine or long-grain. It dries out slightly, which prevents mushiness and helps each grain crisp up beautifully
Do I need a wok to make fried rice?
Nope! While a wok’s shape helps stir-frying, a large heavy skillet works just fine, just make sure it gets good and hot .
How do I get crispy, flavorful rice instead of soggy rice?
Use cold, day‑old rice
Preheat your pan on high with plenty of oil
Let rice toast without stirring too often
And drizzle soy sauce onto the hot surface before mixing, this adds toasted, caramelized flavor

