When I set out to create a budget-friendly podcast studio for my weekly livestreams, I knew I had my work cut out for me. The goal was clear: build a space that could handle live shows three days a week, plus interviews and solo videos, all without breaking the bank. I followed the exact steps outlined in How to Build a Podcast Studio on a Budget (Beginner’s Guide) to make sure every dollar went toward the right gear and setup, and trust me, it made all the difference.
The biggest challenge? Limited space and a tight budget. But with some creativity, smart gear choices, and a bit of elbow grease, I transformed a plain office into a professional YouTube podcast studio that gets the job done, and looks great doing it. I took inspiration from THE ABSOLUTE BEST PODCAST SETUPS IN 2025! to guide my decisions, making sure the final setup was both functional and future-proof.
How to Build a Podcast Studio on a Budget
If you’re thinking about setting up your own studio without draining your savings, this guide is for you.
1. Painting and Preparing the Space
Why Paint Everything Black?
One of the simplest yet most effective things I did was paint the walls and ceiling black. Why? Because black acts like a clean canvas for controlling your lighting, it reduces unwanted light bounce and creates sharper contrast, giving your videos a more cinematic, professional vibe.
It’s a budget-friendly way to elevate your studio look without fancy soundproofing or expensive wall treatments.
Alternative Backdrop Ideas for Home Setups
If painting isn’t an option, don’t worry! Here are some easy, affordable alternatives for your backdrop:
- Seamless paper rolls: Available in different colors, perfect for smooth, professional-looking backgrounds.
Create crisp, professional video and photo content with the Selens 3.3×6.5ft White PVC Backdrop, matte, non-reflective, and totally seamless. Perfect for podcasts, YouTube, Zoom, or studio shoots without the glare.
- Vinyl or fabric backdrops: Durable and reusable, great for adding texture or color.
- DIY blackout curtains: Hang heavy dark curtains to block light and absorb sound.
Block out every bit of light with these 100% blackout curtains, no drilling, just peel-and-stick for instant darkness anywhere. Perfect for travel, dorms, media rooms, or recording studios on a budget.
2. Budget Lighting Setup That Looks Professional
Main Lighting Gear Used
To get that clean, polished look without blowing my budget, I went with Neewer 660 LED panels, and here’s why:
- They have adjustable color temperature, so you can match your lights to natural or studio lighting.
- They’re affordable and compact, perfect for small spaces.
- You can buy them in bundles that come with sturdy stands, saving money and setup time.
Mounting the Lights
Instead of expensive rigs, I used a DJ truss system to create an overhead lighting setup, it’s sturdy, reusable, and professional-looking. To hang the LED panels, I used Velcro cable straps. It’s a non-permanent solution that works like a charm and keeps things flexible.
Lighting Configuration
- The full setup uses 5 LED panels for soft, even lighting at lower intensities, reducing harsh shadows.
- I keep the ceiling lights off to maintain total control over the lighting environment.
- On a tighter budget? You can use 3 panels at higher intensity and still get solid results without buying the full kit.
3. Designing a Pro Backdrop on a Budget
Simple Set Design Elements
Creating a backdrop that looks professional doesn’t have to drain your wallet. Here’s what worked for me:
- Wooden wall panels: Adding texture with affordable wooden panels brings warmth and depth to your background without clutter. They give your set a clean, natural vibe that feels inviting on camera.
Upgrade your studio or space with Art3d 3D Slat Wall Panels, sleek, modern, and sound-friendly.
This 6-pack adds instant depth and style to any wall or drop ceiling.
- Neon sign: A custom or pre-made neon sign with your podcast’s name or logo adds personality and a cool visual brand element. It’s a subtle but powerful way to make your videos instantly recognizable.
- Govee LED lights: I placed Govee LED strips in the corners to provide a soft backlight and add a splash of color warmth. They’re affordable, easy to install, and controllable via app, perfect for setting the mood and separating you from the background.
4. Studio Layout and Camera Setup
Furniture Arrangement
For a professional yet cozy interview vibe, I set up two chairs and side tables, perfect for face-to-face conversations or solo talks. A quick tip: keep your chairs pulled a few feet away from the back wall. This simple trick helps avoid harsh shadows and gives your lighting more room to work its magic.
3-Camera Setup (Optional)
If you want to up your production game, consider a multi-camera setup. I used Blackmagic 4K Pocket Cinema Cameras because of their excellent quality and compact size
- Camera 1: Wide shot capturing both host and guest
- Camera 2: Close-up on the guest
- Camera 3: Close-up on the host
Budget Tip:
If you’re just starting out, no need to stress about three cameras. Two cameras can do the trick, one for the wide shot and one for close-ups, and still deliver great results.
5. On-Set Monitoring and Real-Time Feedback
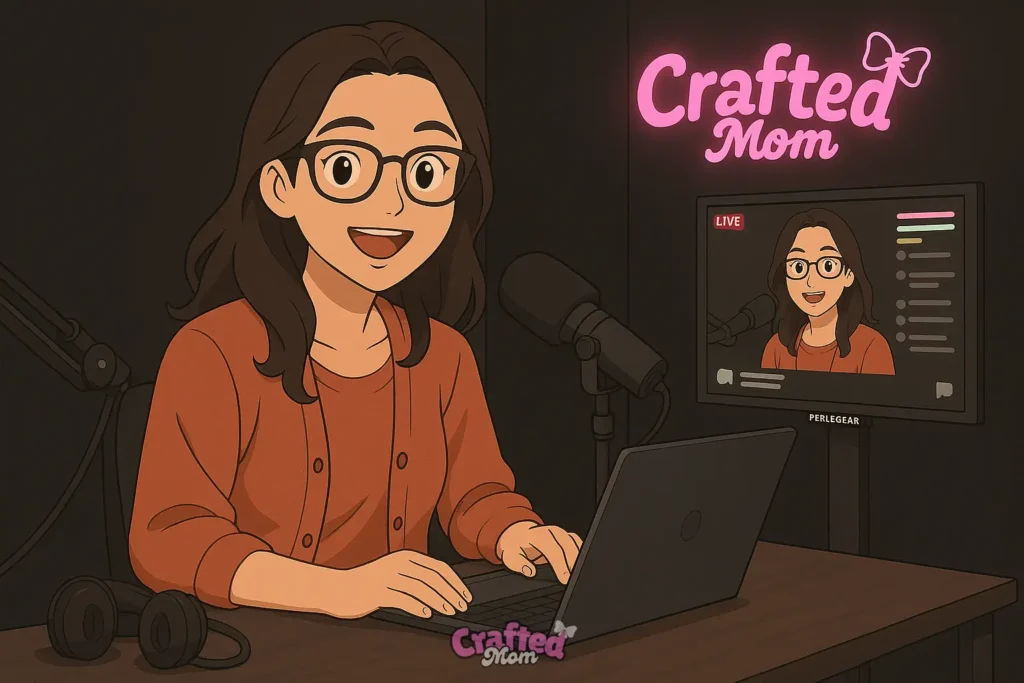
Guest Monitoring Setup
To keep guests comfortable and in the loop during live shows, I set up a simple but effective monitoring station right behind the main camera.
- I grabbed an affordable Amazon TV stand to hold a small screen.
- This monitor displays the live video feed, incoming comments, and intros so guests can see exactly what the audience sees and stay connected.
- It’s a game-changer for keeping guests informed and reactive, making conversations flow smoothly and naturally.
6. Audio Setup for Clear, Professional Sound
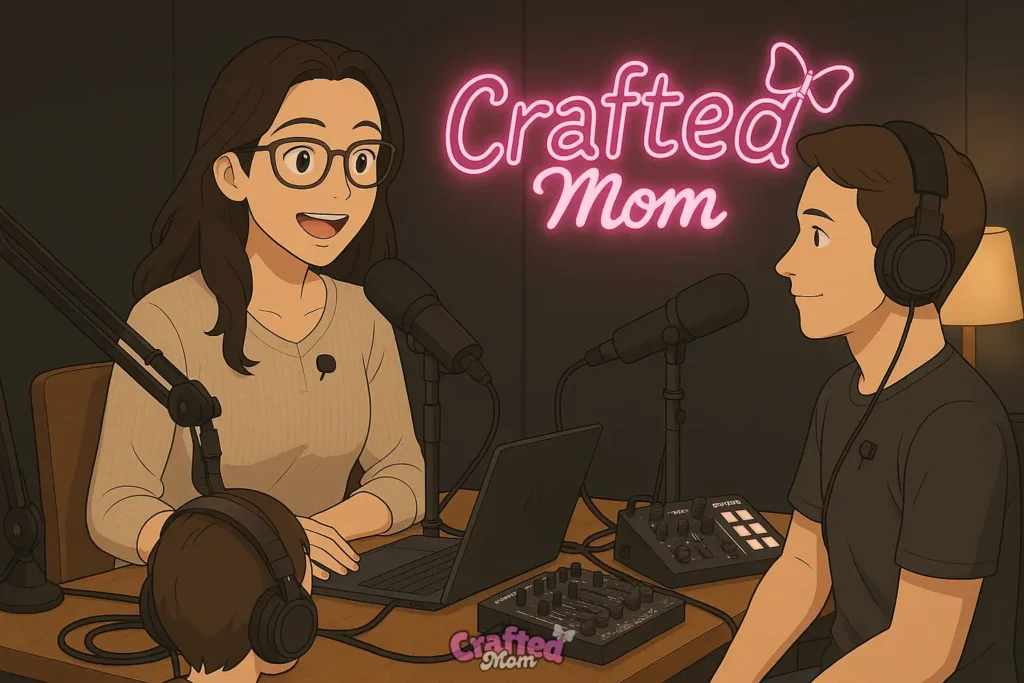
Audio Gear Overview
Great audio is non-negotiable when it comes to podcasting. Here’s what I used to keep sound crystal clear without breaking the bank:
- Wireless Shure lapel mics for hosts and guests, these provide freedom of movement and consistent audio quality.
- An Audio-Technica mic for the producer to capture room or ambient sound.
- An old but reliable Allen & Heath soundboard, sometimes you just gotta work with what you have, and this one got the job done perfectly.
Budget Audio Options
If you’re on a tighter budget, don’t worry:
- Rode mixers offer affordable, high-quality mixing solutions that are popular among podcasters.
- Lavalier (lapel) mics are a great choice for flexibility and minimal visual distraction, plus, they keep your setup neat and professional-looking.
7. Video Switcher and Streaming Setup
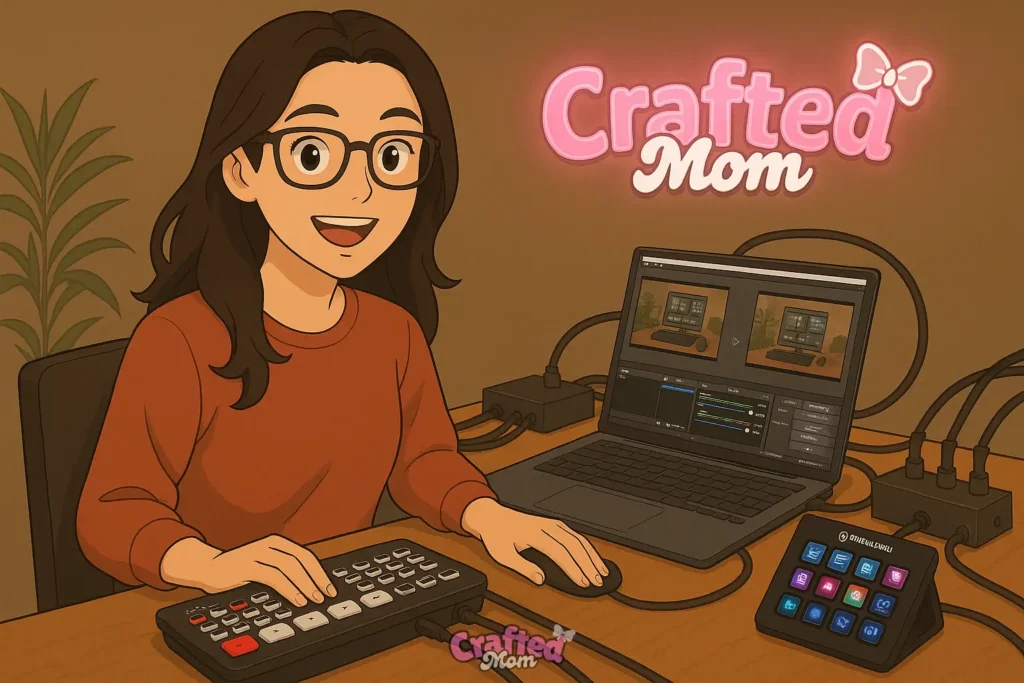
Blackmagic ATEM Mini Pro
For professional-level control over multiple cameras, I rely on the Blackmagic ATEM Mini Pro. It’s a powerhouse that:
- Handles up to 4 HDMI inputs from different cameras.
- Lets you switch between angles in real-time with the push of a button, keeping your livestream dynamic and engaging.
Computer Workflow
- I use OBS Studio combined with Restream to manage streaming and recording simultaneously across platforms.
- For quick and easy scene switching inside OBS, the Elgato Stream Deck is a total game-changer, it puts all your scenes and commands right at your fingertips.
8. Full Workflow at a Glance
Here’s a quick snapshot of how everything works together to create smooth, professional livestreams and recordings:
- Audio and video signals from your microphones and cameras feed into the Blackmagic ATEM Mini Pro.
- The ATEM Mini Pro sends a combined feed to your computer.
- On the computer, OBS Studio captures and synchronizes the audio and video streams.
- Your content is then streamed live via Restream to multiple platforms like YouTube and Facebook simultaneously.
- Meanwhile, the Elgato Stream Deck puts all your scene switching and commands at your fingertips, no fumbling through menus needed.
9. Tips for Maximizing Quality on a Budget
Reduce Harsh Light
Instead of blasting a few lights at full power, use more LED panels at lower intensities. This softens shadows and gives your subjects a flattering, even glow.
Create Depth
Keep your subjects a few feet away from the background to create natural separation. This helps avoid flat-looking shots and adds visual interest.
Use Warm vs. Cool Lighting Contrast
Mix cool front lights with warm backlights for a cinematic, professional feel. This contrast adds dimension and makes your videos pop.
Save Space and Avoid Clutter
- Mount lights overhead using rigs or trusses to free up floor space.
- Opt for wireless audio systems to reduce messy cables and keep your setup clean and flexible.
How to Build a Podcast Studio: Conclusion
With a little DIY spirit and some smart gear choices, you can build a YouTube podcast studio that looks and sounds professional, all without blowing your budget.
This setup is ideal for churches, content creators, and small teams who want high-quality livestreams and recordings without the hassle of big production costs.
Don’t forget to check out the gear list and helpful links in the video description for everything I used.
For more tech reviews, church media tips, and faith-based content, be sure to visit the creator’s YouTube channel, it’s packed with resources to help you create your best work yet.
Frequently Asked Questions:
How big should my podcast room be?
There’s no hard rule, it depends on your format. A solo or two-person podcast can thrive in a compact room (~10 × 10 ft or ~3 × 3 m), while group or multi-guest setups benefit from something around 12 × 15 ft (~3.5 × 4.5 m)
What’s the best budget microphone for beginners?
The Audio-Technica ATR2100x-USB and Samsung Q2U are top choices, both offer USB/XLR options, great audio clarity, and cost under $100. For a more plug-and-play option, the Rode PodMic USB is ideal for under $200 with built-in processing features.
How do I soundproof my space without spending a fortune?
Use what you already have! Thick blankets, curtains, rugs, and even clothes-filled closets can absorb sound. For under $50, you can buy foam panels or DIY acoustic solutions like cardboard frames with towels or egg cartons. Place them behind the mic and on reflective surfaces.

